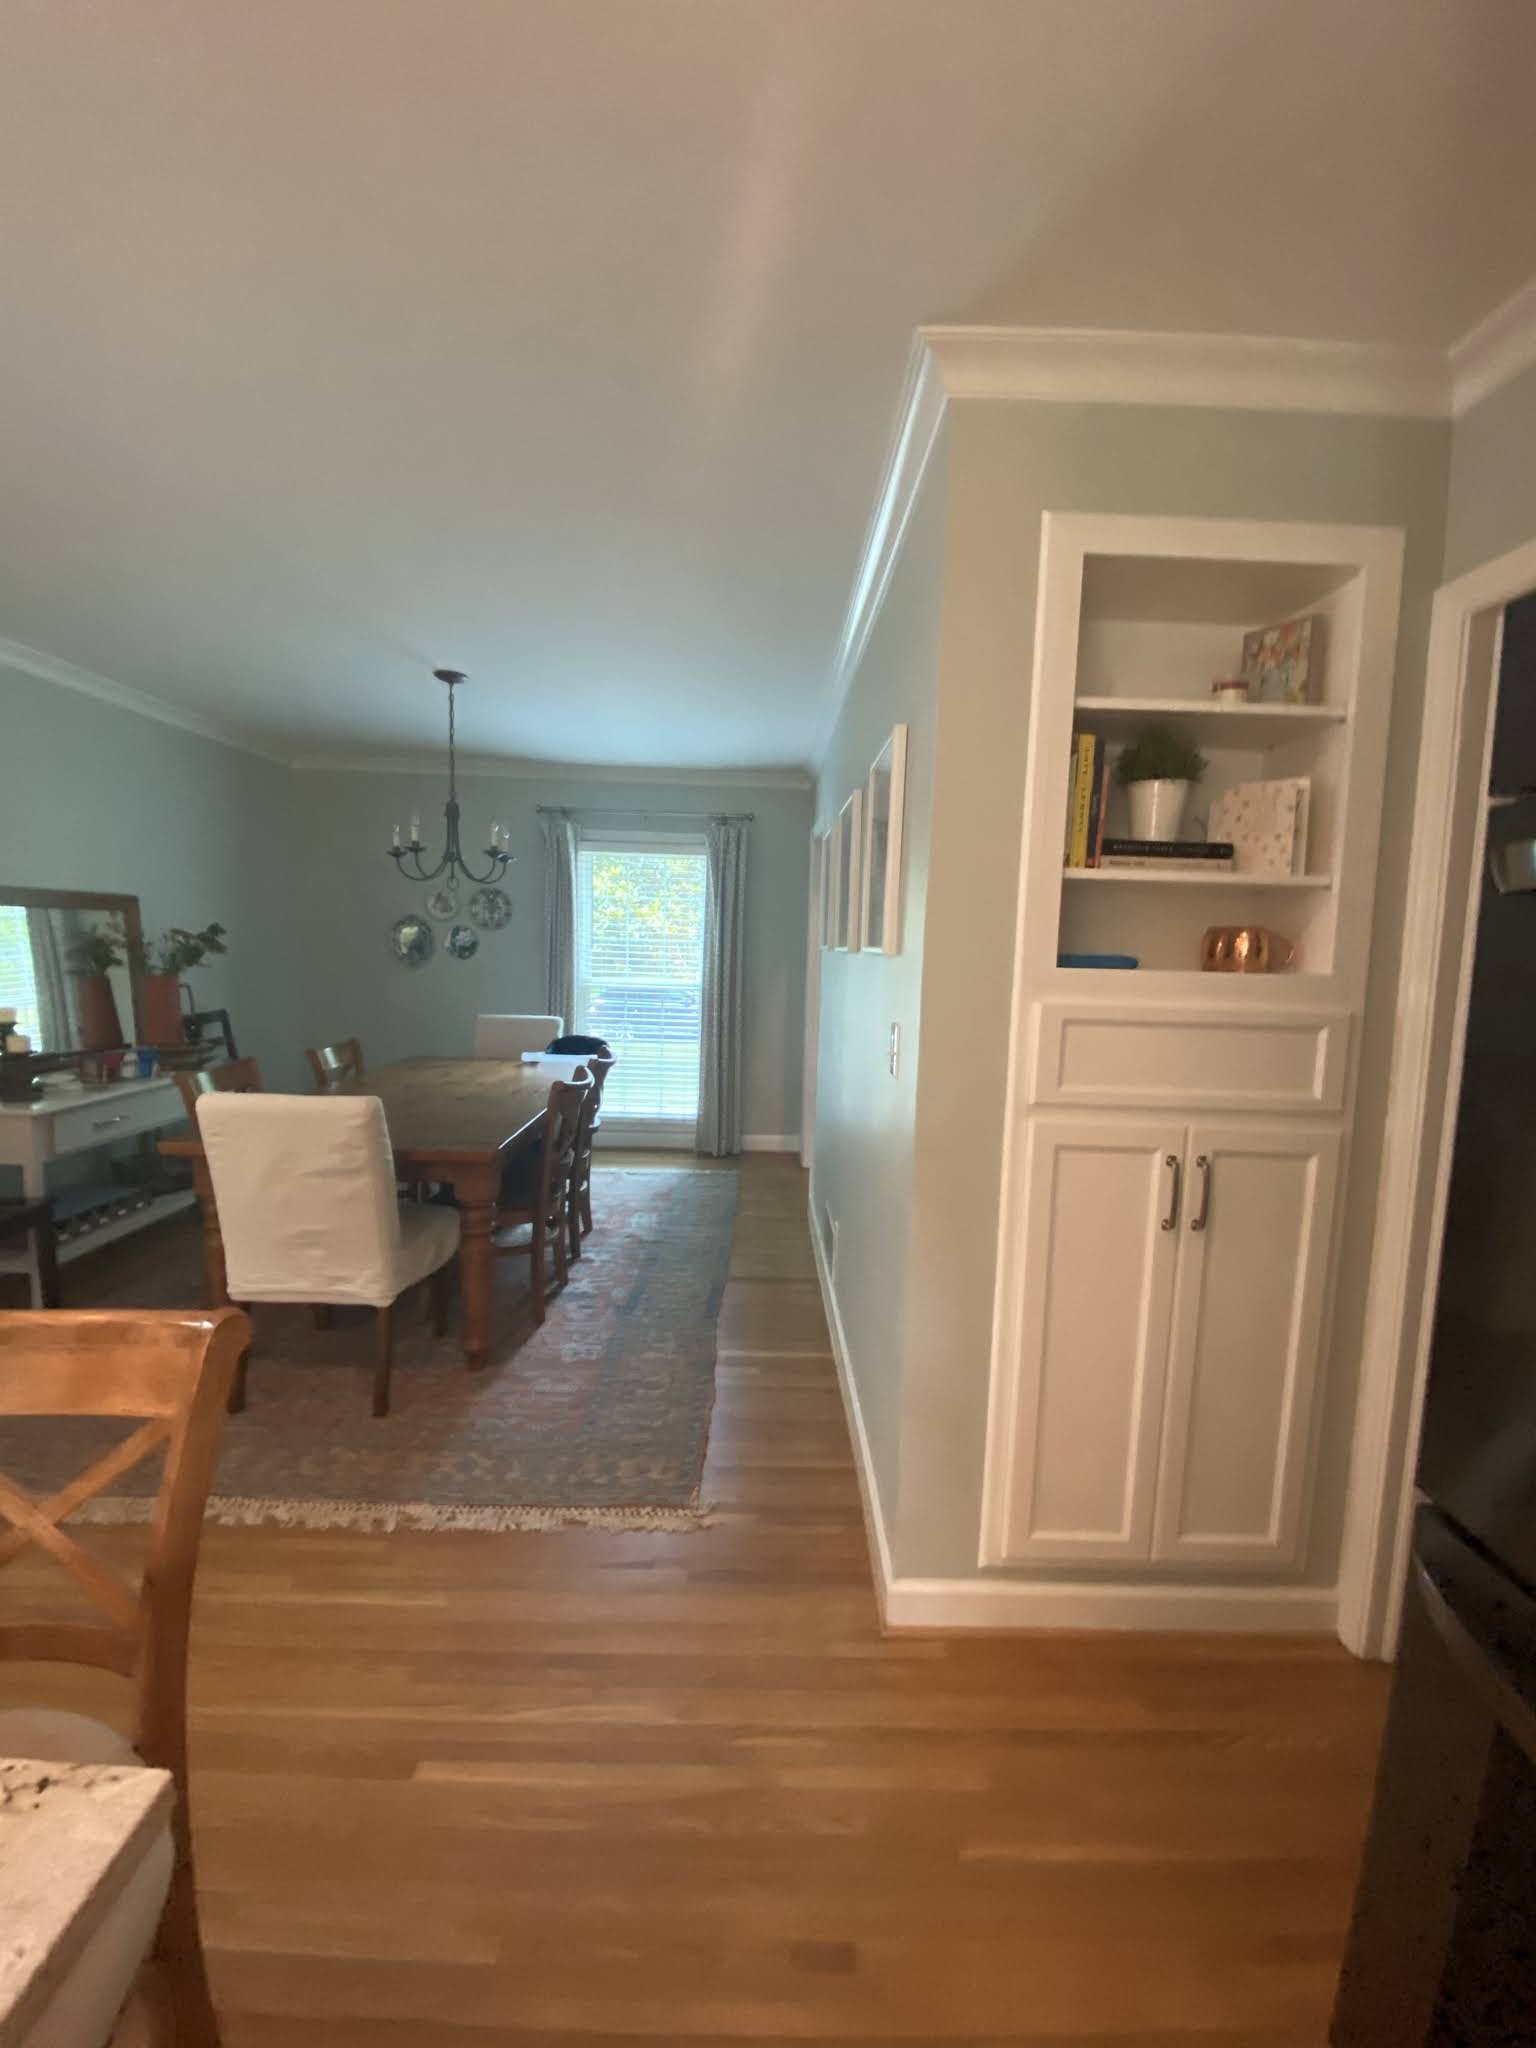
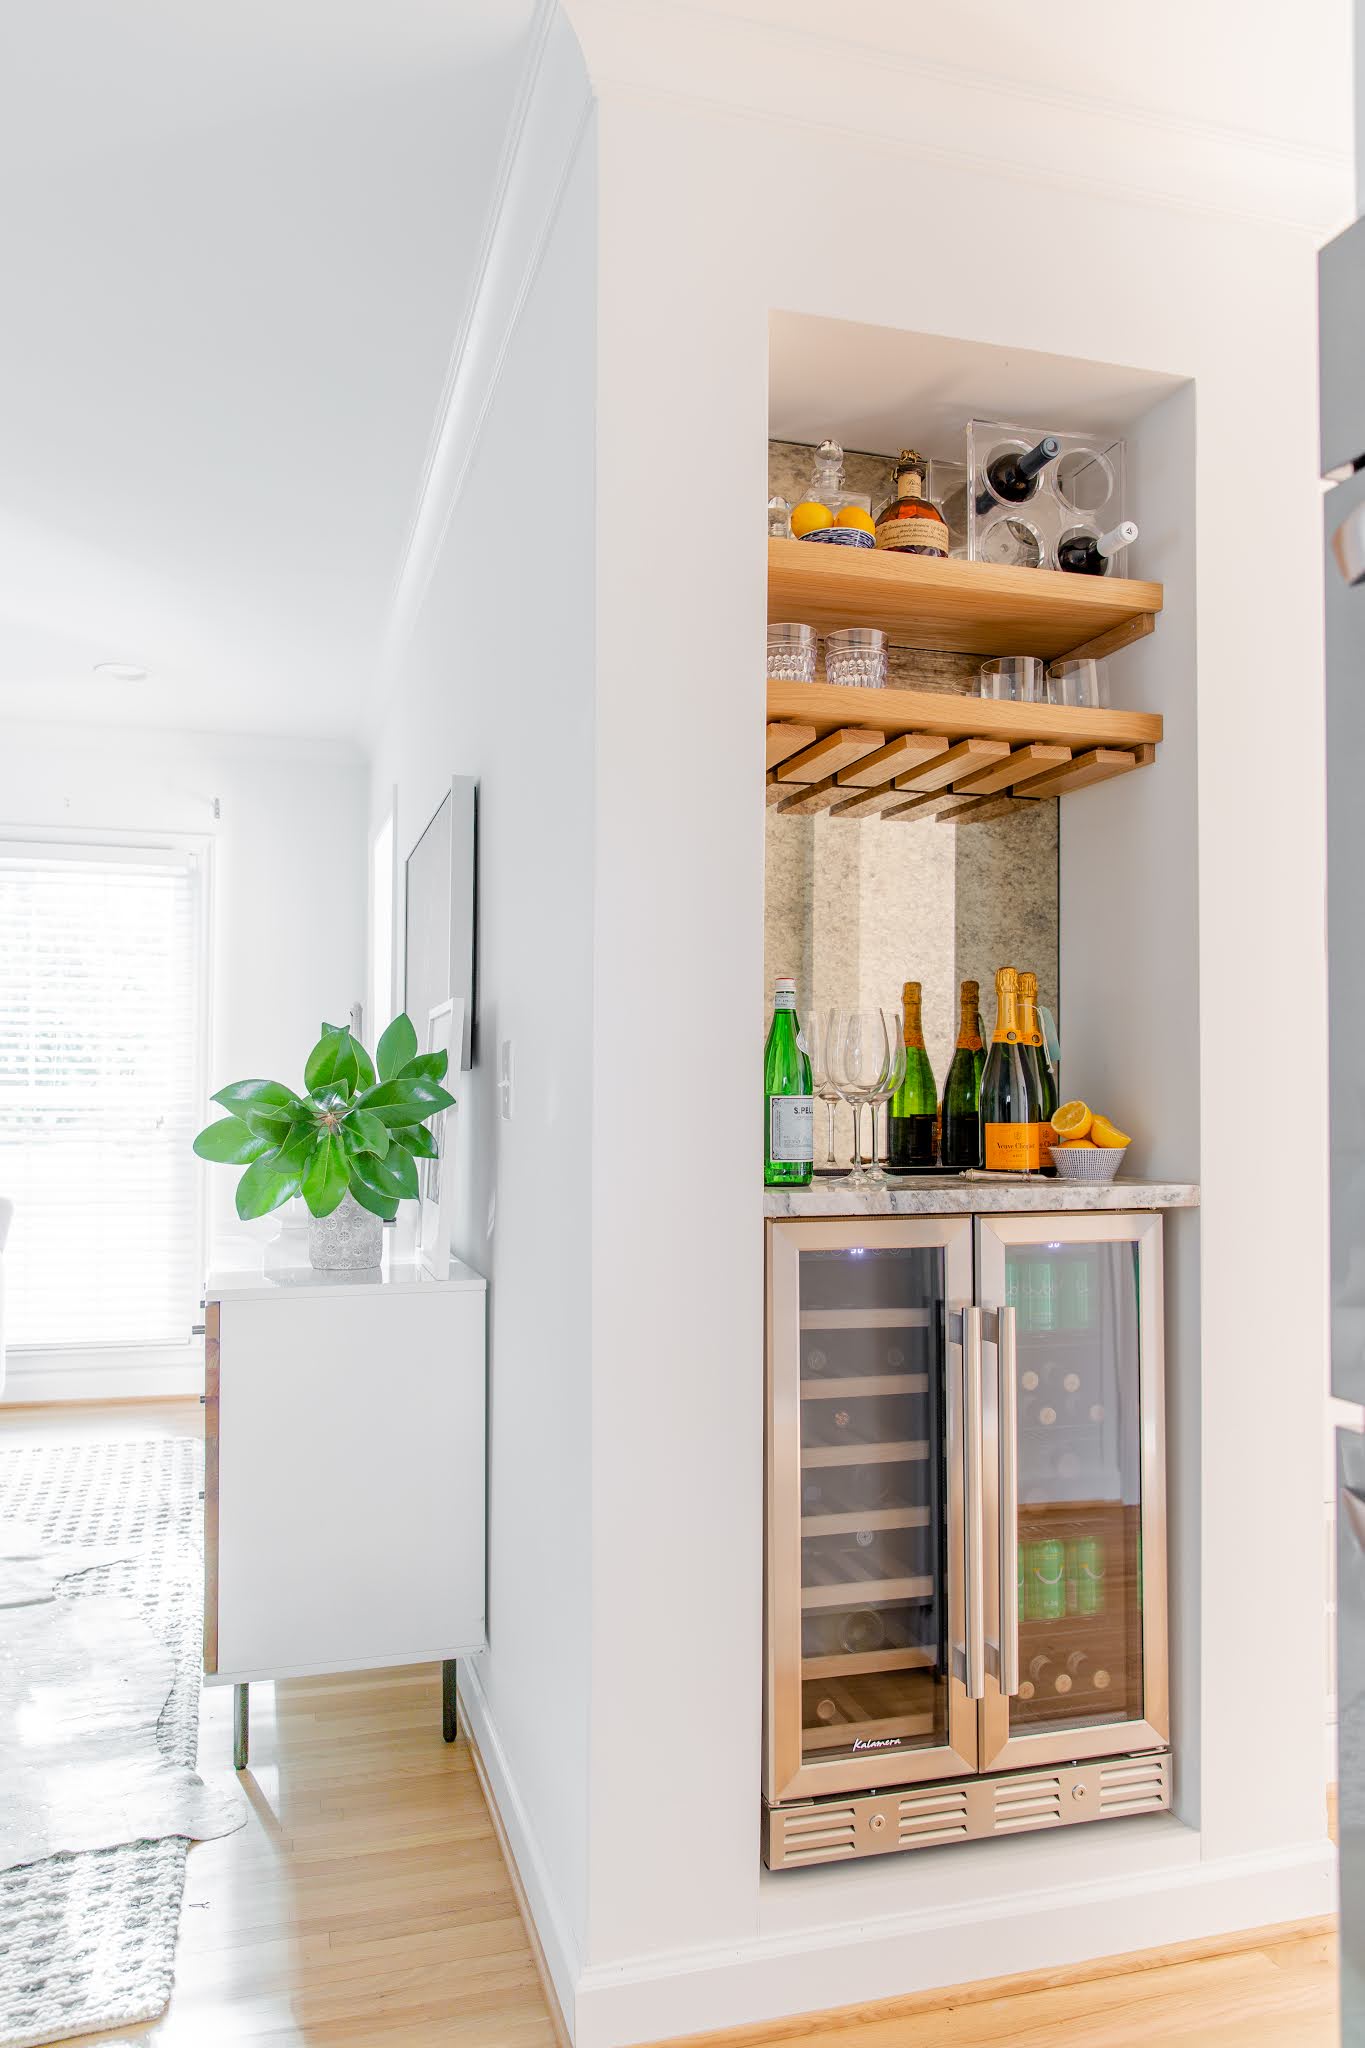
Welcome to the Before and After reveal of the bar in House #6!
This little bar really has a story to tell. I have to admit that she is one of my best "on the fly" renovation decisions to date, but she almost ended up a blank spot of drywall!
One of the hardest parts of tackling a home renovation is being forced into making (sometimes major!) decisions in a short time frame.
And when I say "short time frame" I mean on the spot.
You can open the walls and find surprises that can derail a design or a budget in seconds. Such is the case with our little bar spot.
Originally, we intended to completely remove the area that is now a bar. It was serving as a built in cabinet and jutting out into a major traffic path. I wanted to remove it to make the wall flush with the hallway it joined.
We did our due diligence and had a structural engineer approve the concept before demolition began, during the inspection process. But we were all in for a shock when they slammed that sledgehammer through the drywall and found and a unusually shaped and positioned structural and support beams supporting our staircase.
on the far right, you can see the open dry wall, peeking through those beams happens to be the structural support to our staircase.
Removing that foundation in order to push the wall back a few feet would actually have resulted in the collapse of the stair case.
Seeing as that was clearly a no-go and we were smack in the middle of major demolition that would determine the layout of the downstairs, we got a call from our contractors that went something along the lines of:
"we never saw this one coming! It's a complete no on removing that section of wall, we've already demoed the shelves, what do you want to do with it. And decide quickly, because we've gotta move to keep on schedule".
I took approximately 12 seconds to reply back:
Just drywall it up.
There was silence from the team and my husband, they know I don't do my best work when pressured, but they moved on my plan. Framing started to rebuild the space back and prepare for drywall.
But a few days later it came to me.
And like I always do when an idea strikes, I ran to Pinterest to see if what I was envisioning might work.
I searched "tiny bar" and knew what we we're going to do.
re-framed and starting to look like a bar
So here she is, my little bar baby.
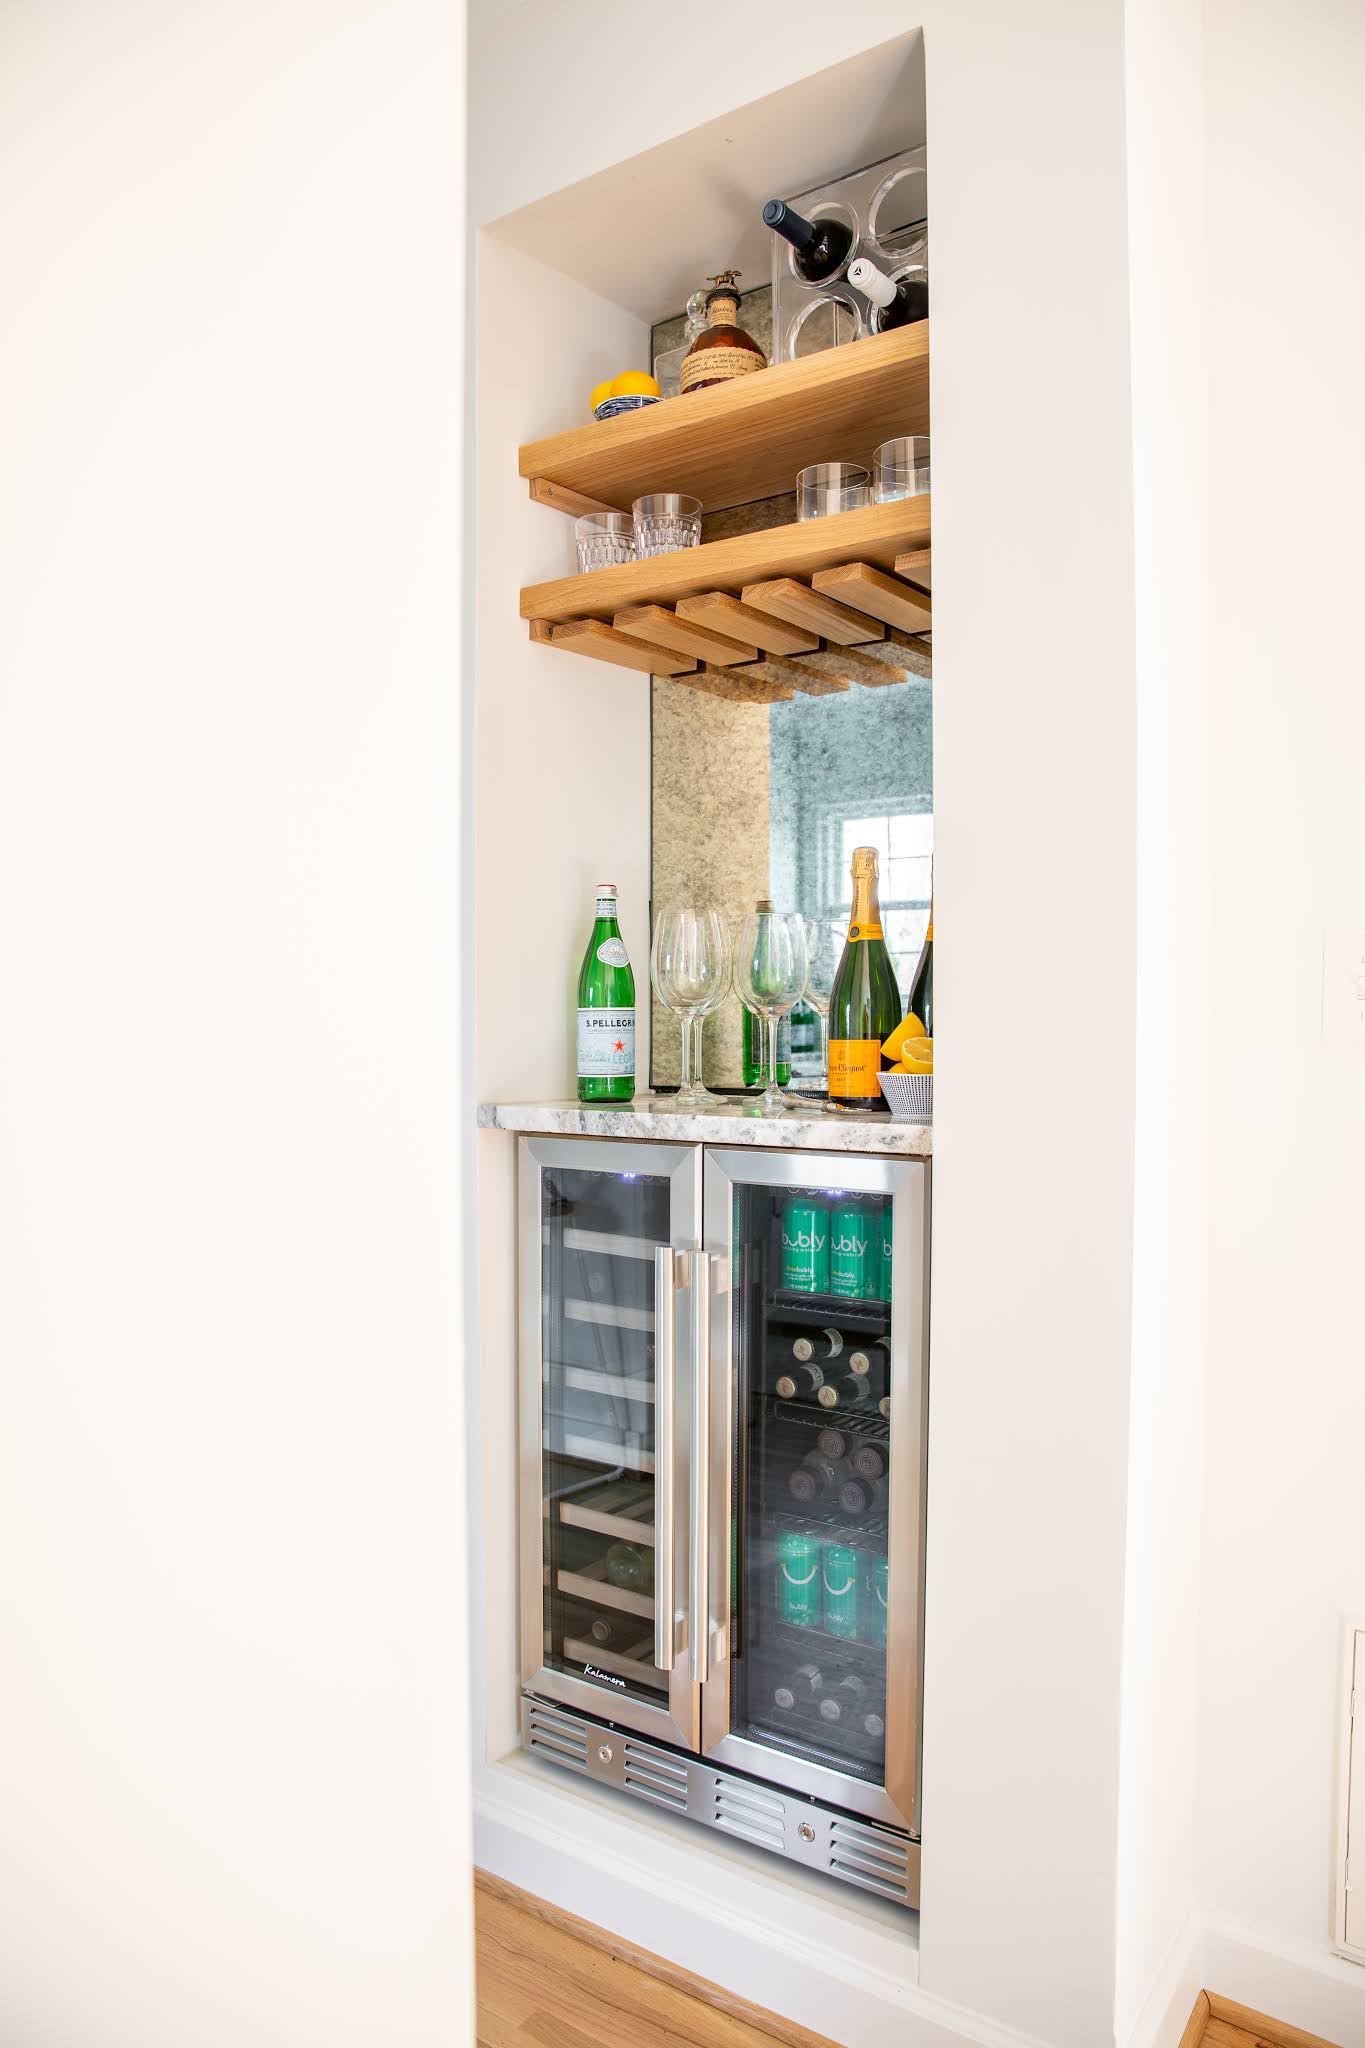
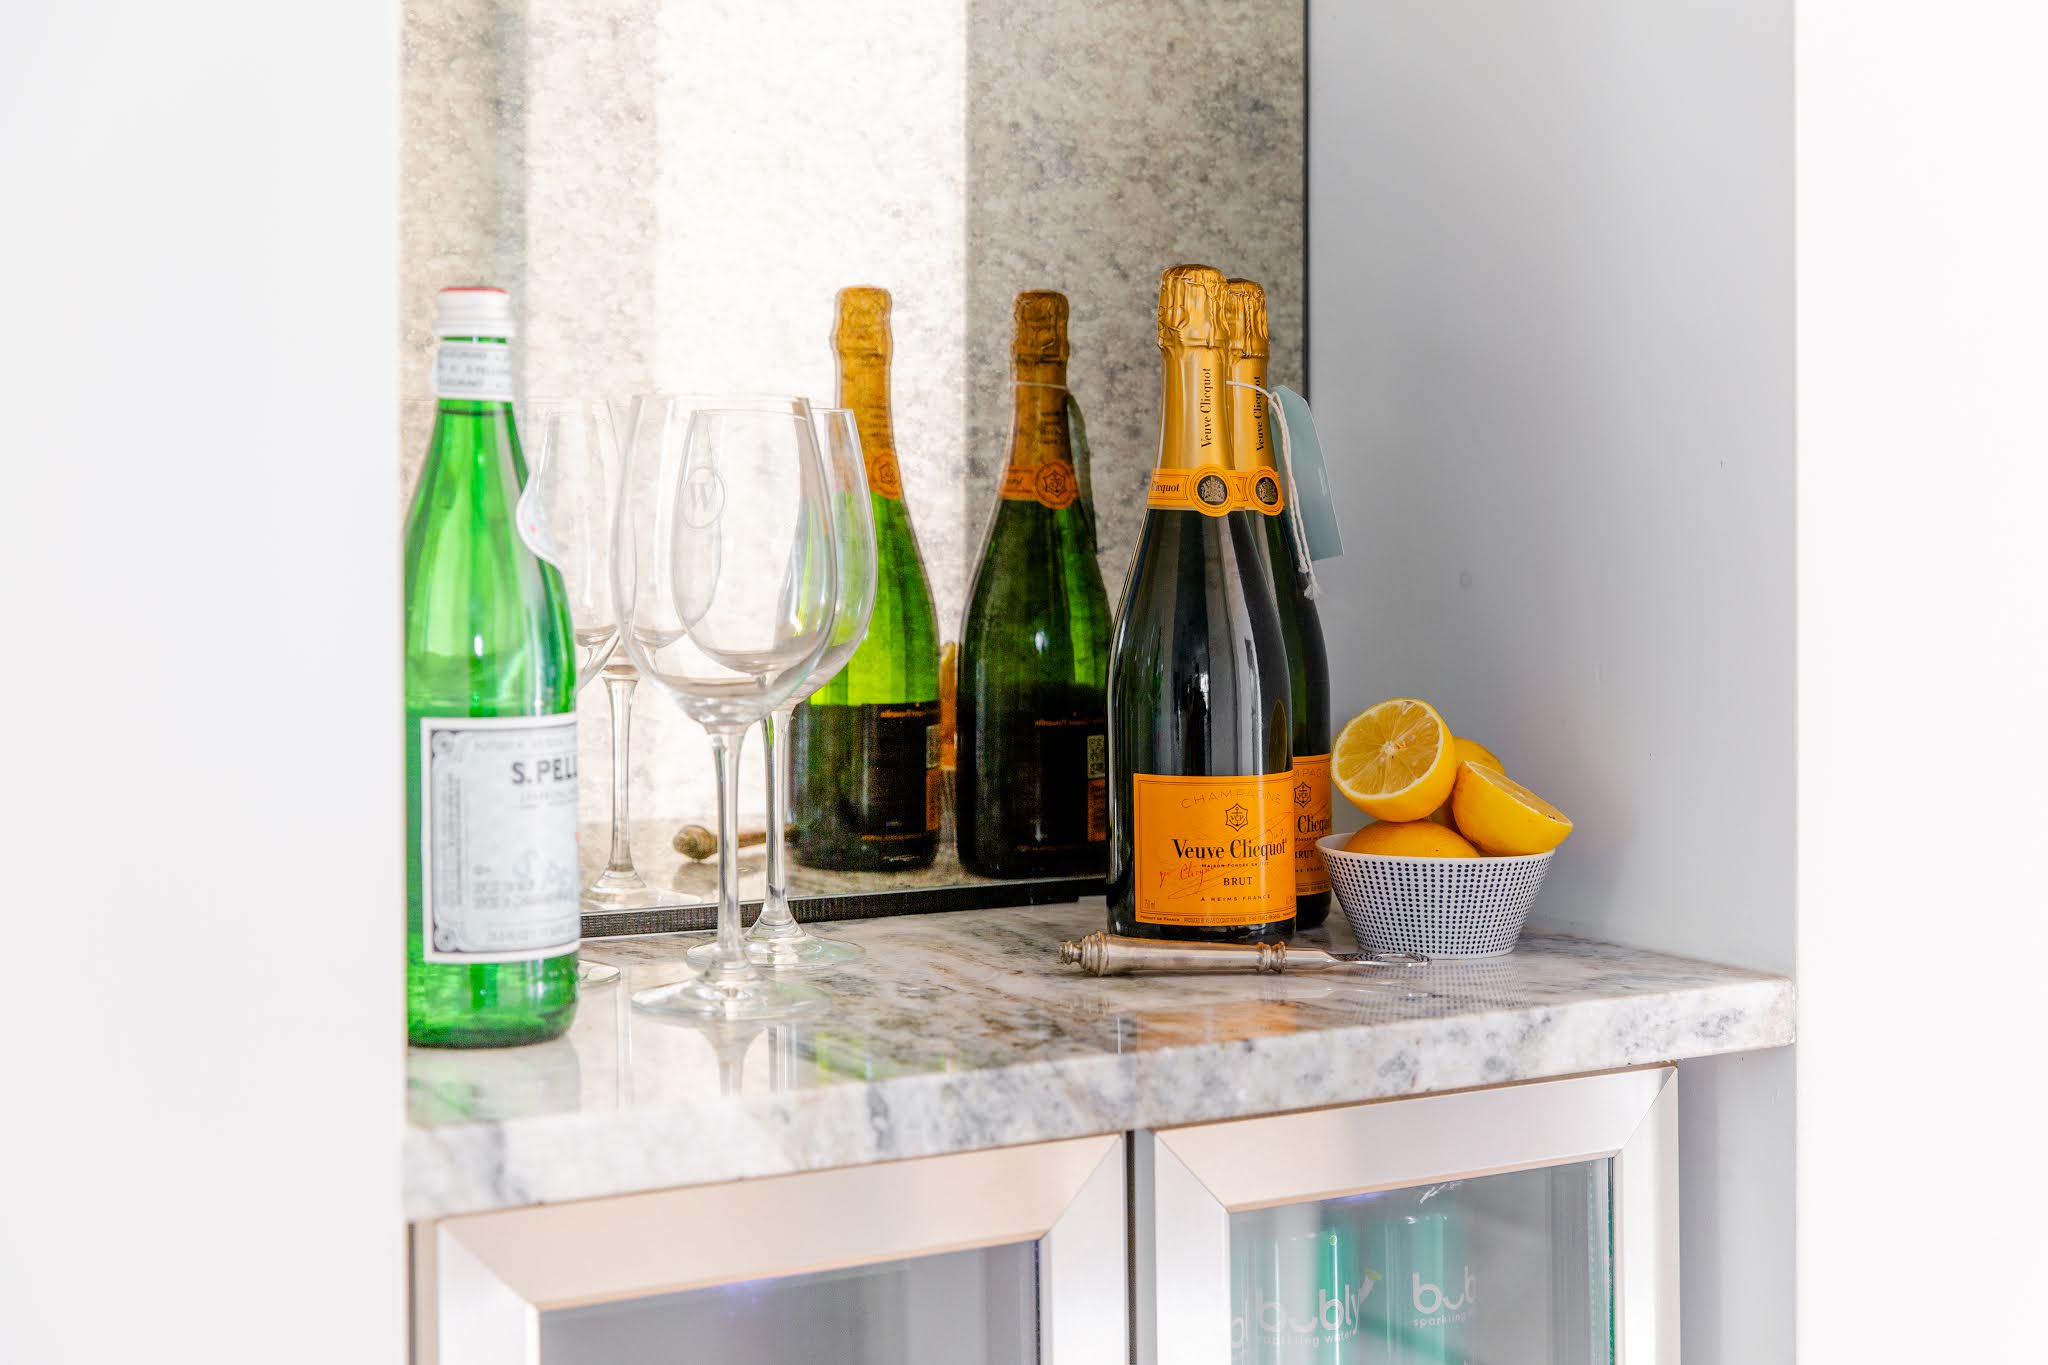
After re-cutting the beams to shape out a nook, we sourced a beverage fridge that would fit perfectly. We struck gold at the stone yard and found a remnant of granite that we loved and I asked our glass guys to bring out samples of vintage/antiqued glass.
I wanted the mirror back to create light in the space. Once we installed the new glass front doors, I knew the light would shine into the hallway and bounce into the glass.
During golden hour, the bar almost glows thanks to the glass. It's really just so gorgeous.
I added in bar items we already had, placed a strip of remote control lights on the top shelf so it illuminates at night asked our contractors to create shelves to fit the space.
To ensure the shelves were actually useful for us, we brought out my largest red wine glasses and measure how much space they would need to hang from the shelves. Our contractors have a little passion and a ton of talent for woodworking so they custom made the shelves for us and stained them to match our refinished floors.
The little set of shelves that were demoed, covered up, uncovered and rebuilt into a bar is now one of our favorite spots in the house. It provides so much storage and a great focal point from our kitchen island.
Sources:
Wall Paint Color: Wedding Veil by Benjamin Moore
Glass: Karsey Glass
Photography: Demi Mabry Photography
Wine Bottle Holder similar
Cocktail Glasses


