I'm not going to lie, I thought our last bathroom renovation was a fairly shocking change that wouldn't and couldn't be topped. The Before was rough, we managed to double the size and the finished product was so clean and chic.
We got to live in that gorgeous bathroom space for roughly a month or so before we put that house on the market, so imagine the words I said when I laid eyes upon our new owner's suite bathroom for the very first time.
Let's just say they weren't exactly PG...
But as it turns out, bathroom renovations are kind of our thing and House #6 was ready put us through our paces.
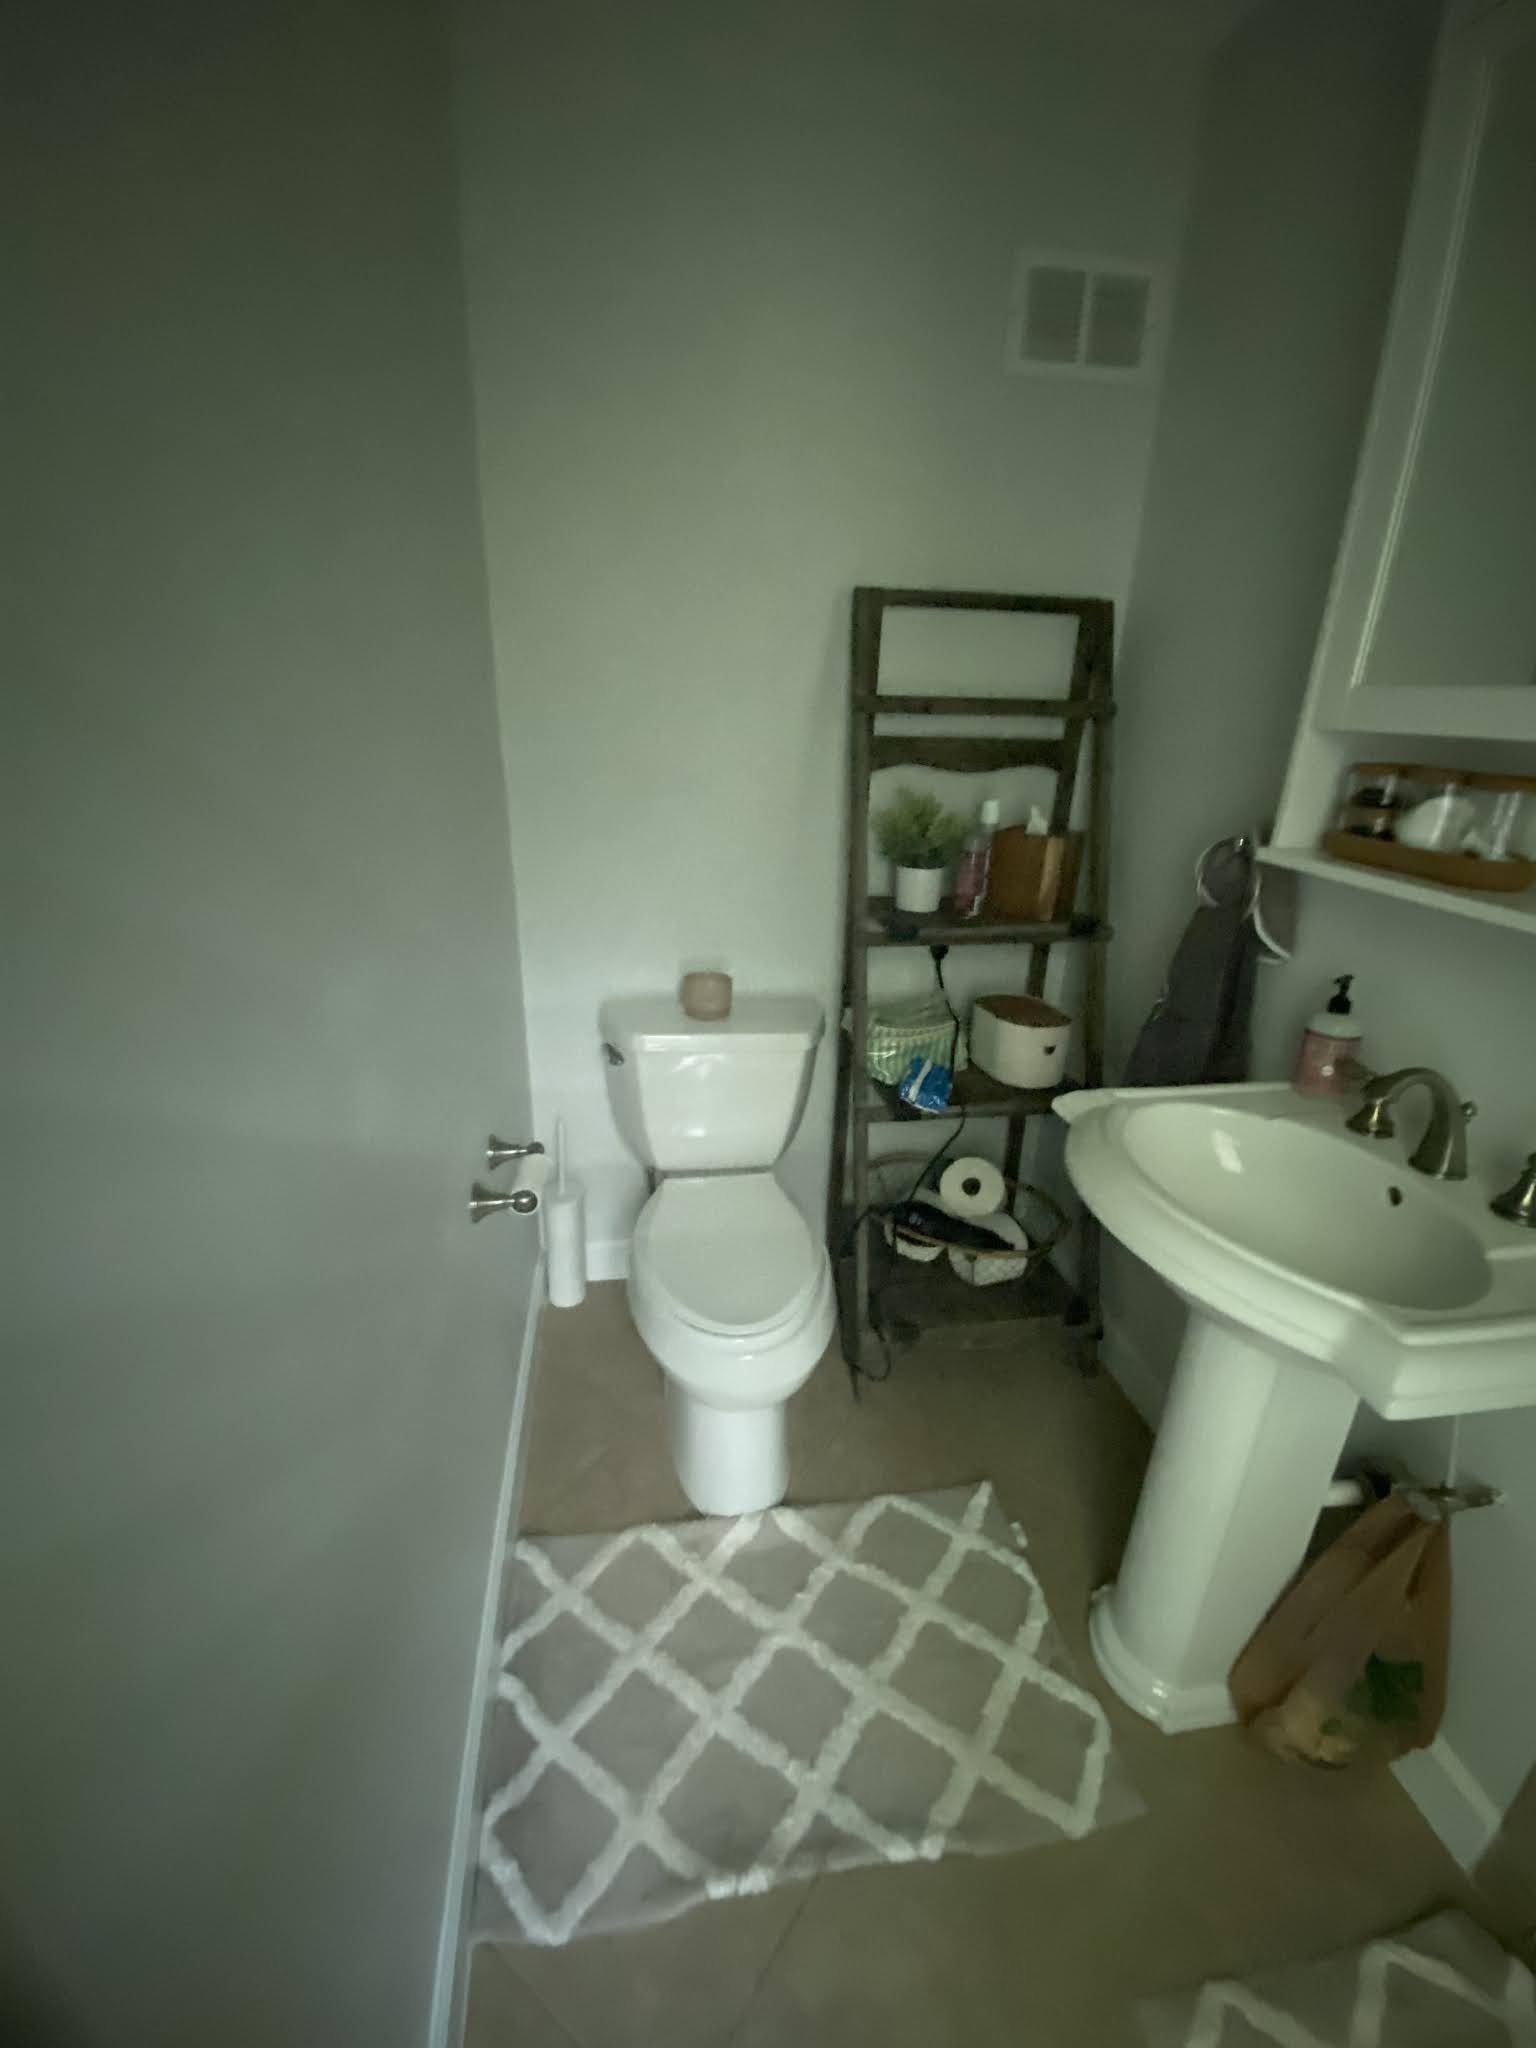
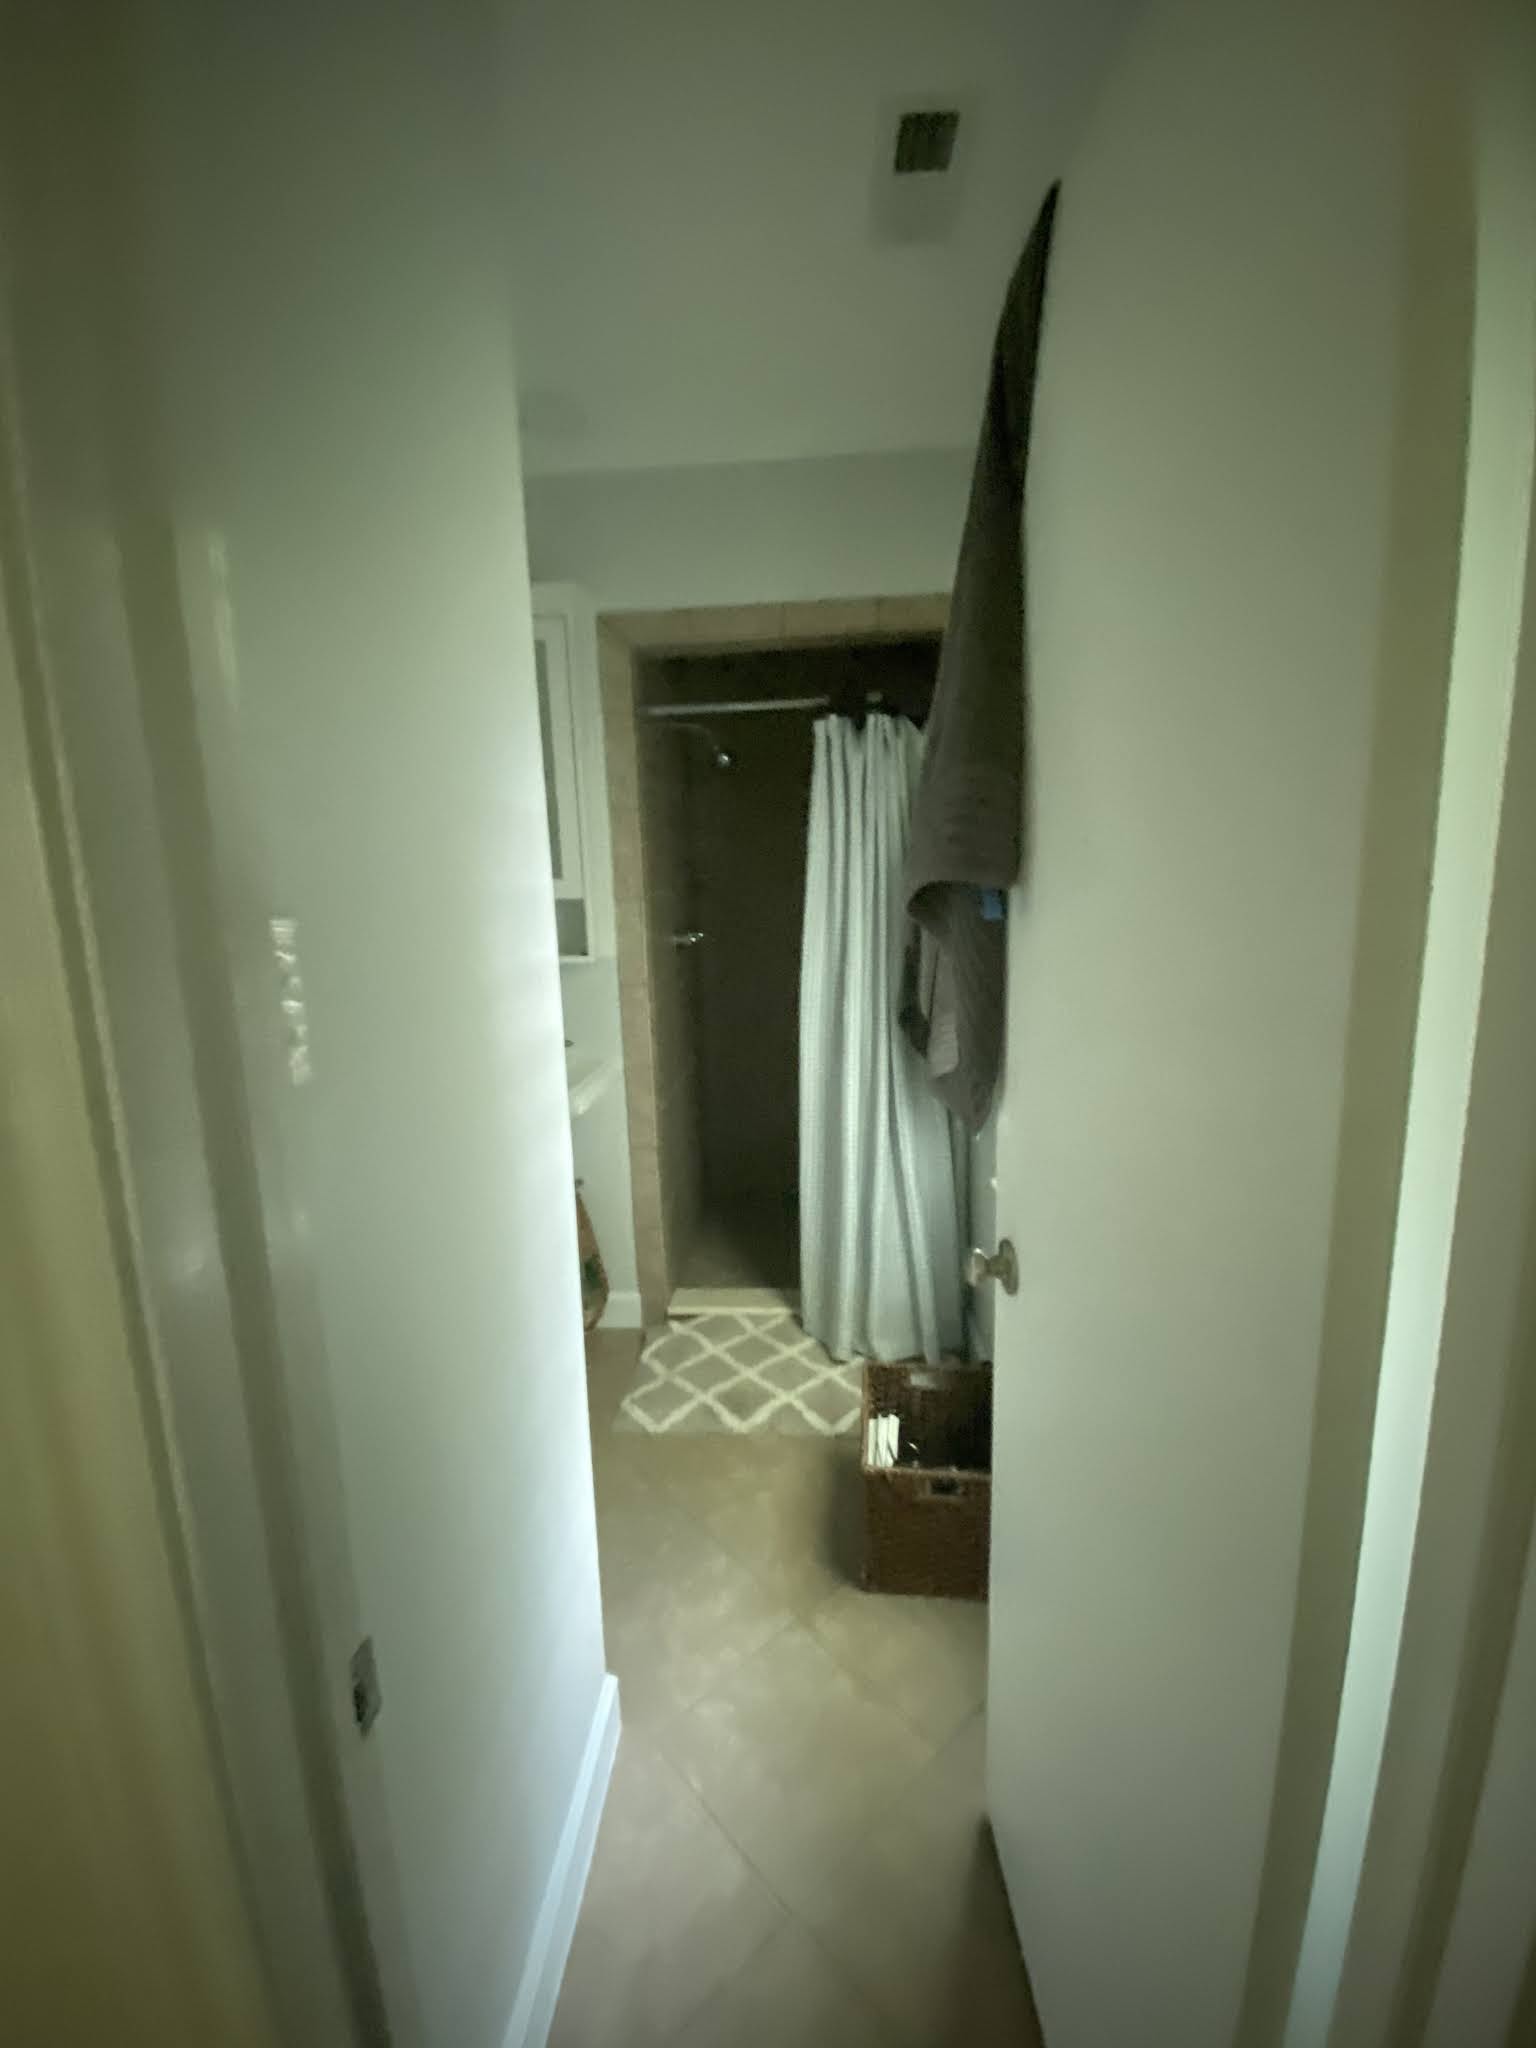
Our Before bathroom was tiny.
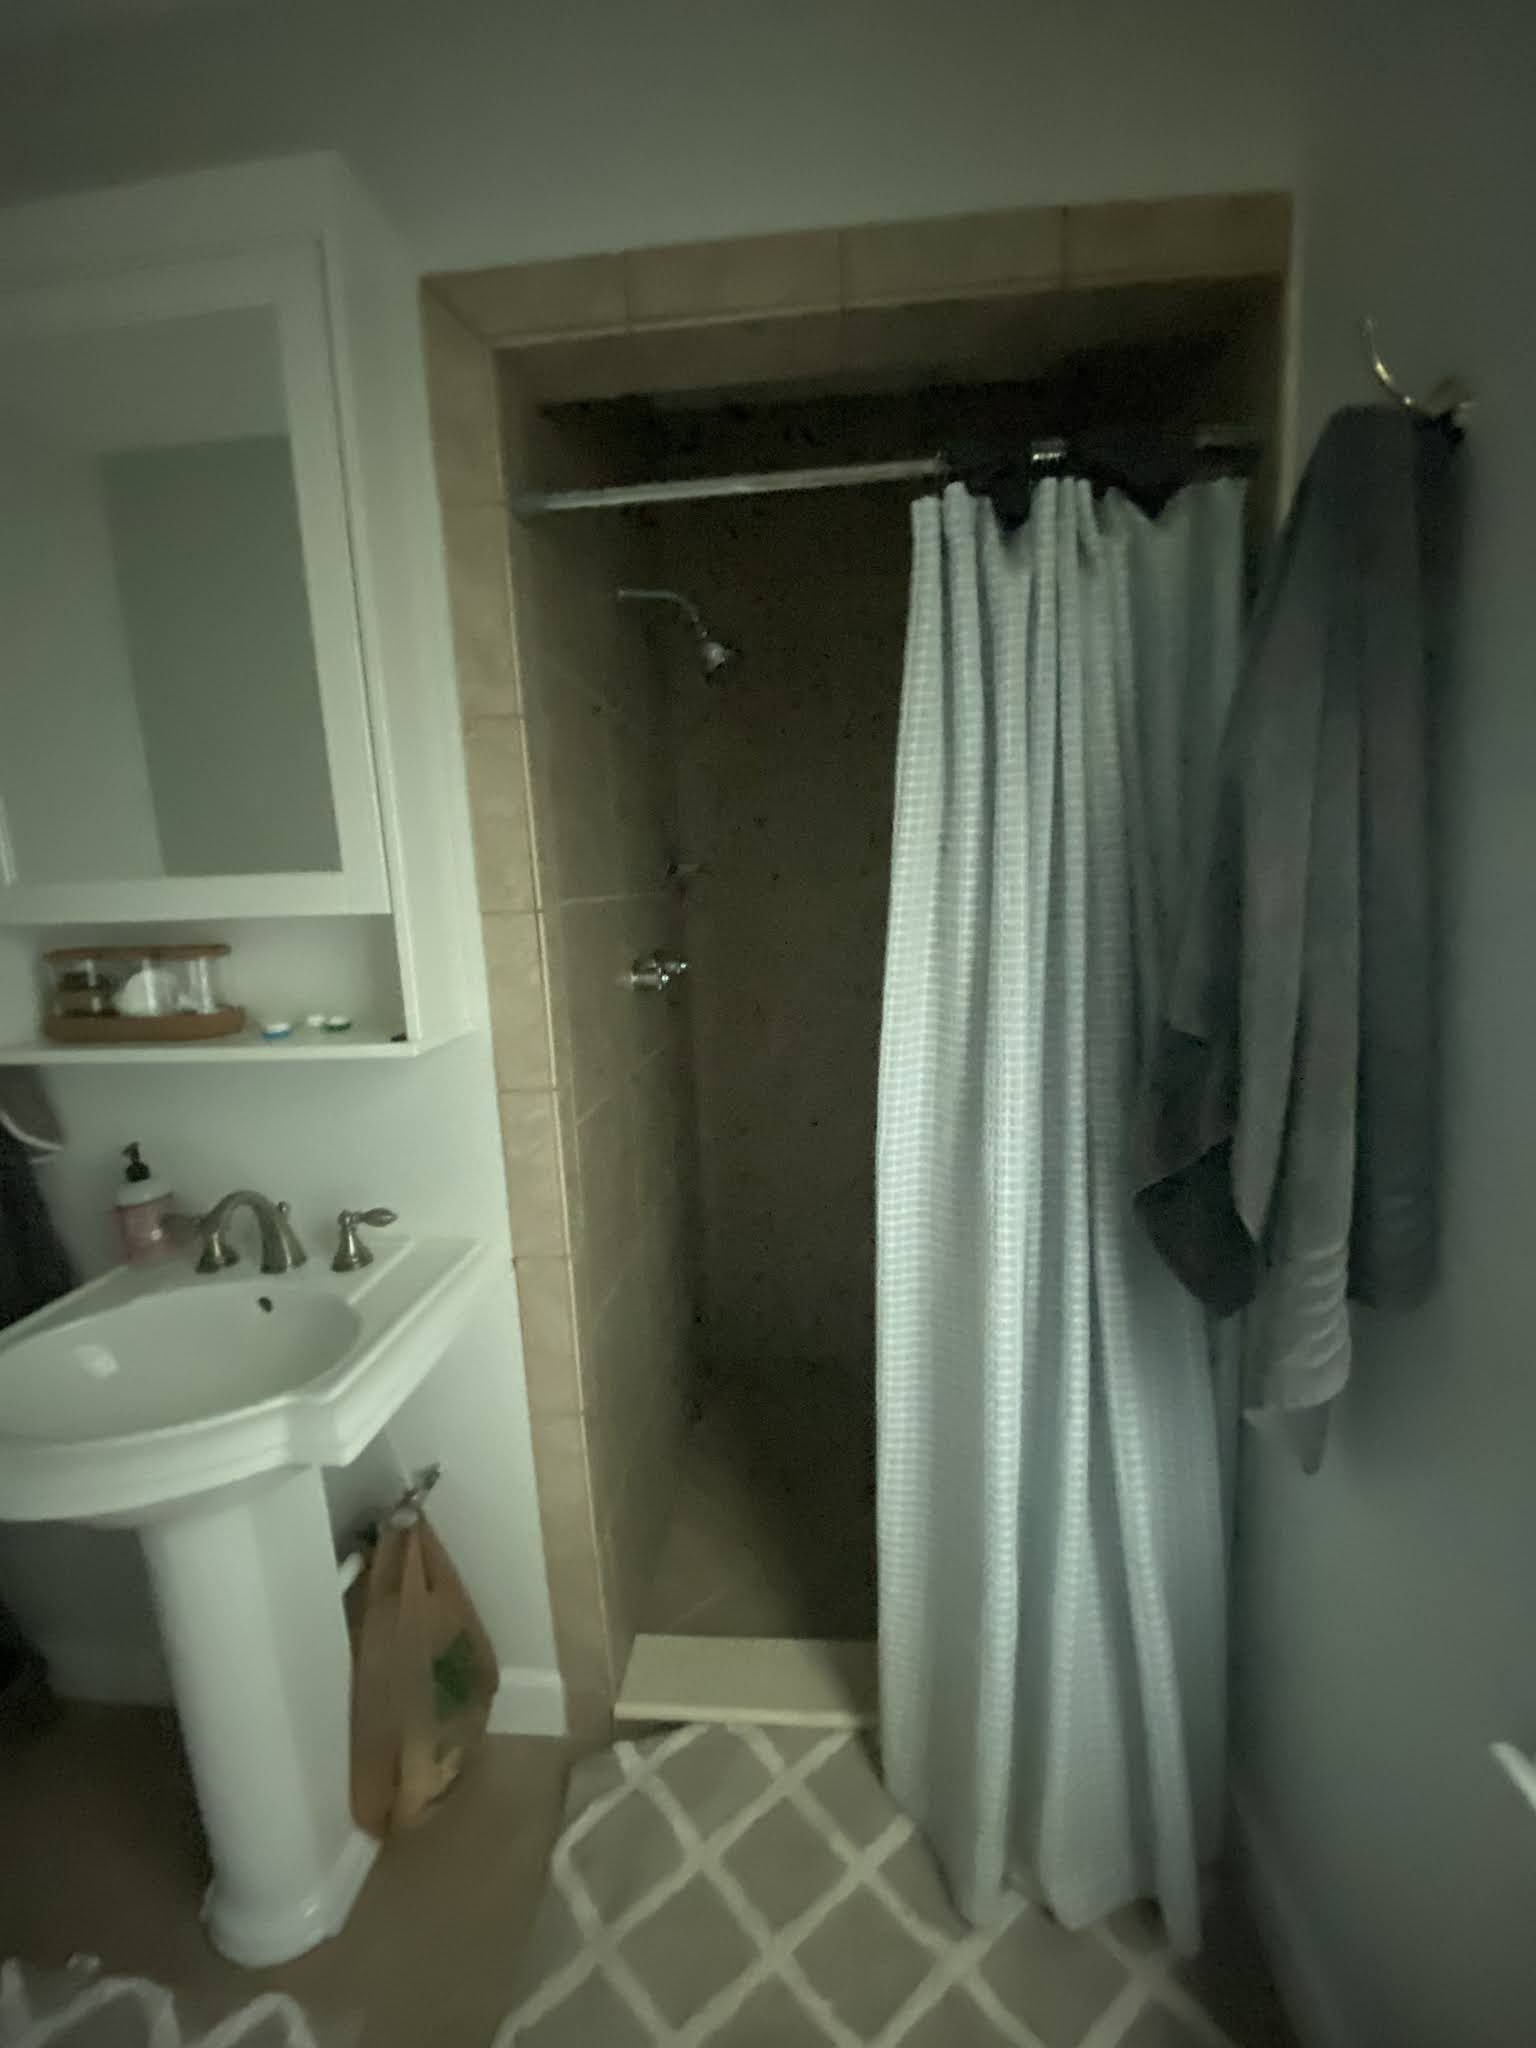
And I mean tiny, no matter your geographic location or living space layout. We were rivaling NYC apartments with this one, which was out of place for a 4 bedroom house with a traditional layout. To make things fun, we didn't have much room to expand, with the staircase on the other side of the shower.
Luckily, we we did have a little something to work with.
The only closet in the owner's bedroom was a tight, single closet that just so happened to share a wall with the bathroom.
We decided to remove that closet, which would give us *just* enough space to add in a 60" double vanity. After that, we were able to move the toilet to the opposite wall. We kept the shower space the same due to logistics but just those changes made one heck of a difference.
Ready to see?
Here's the Before:
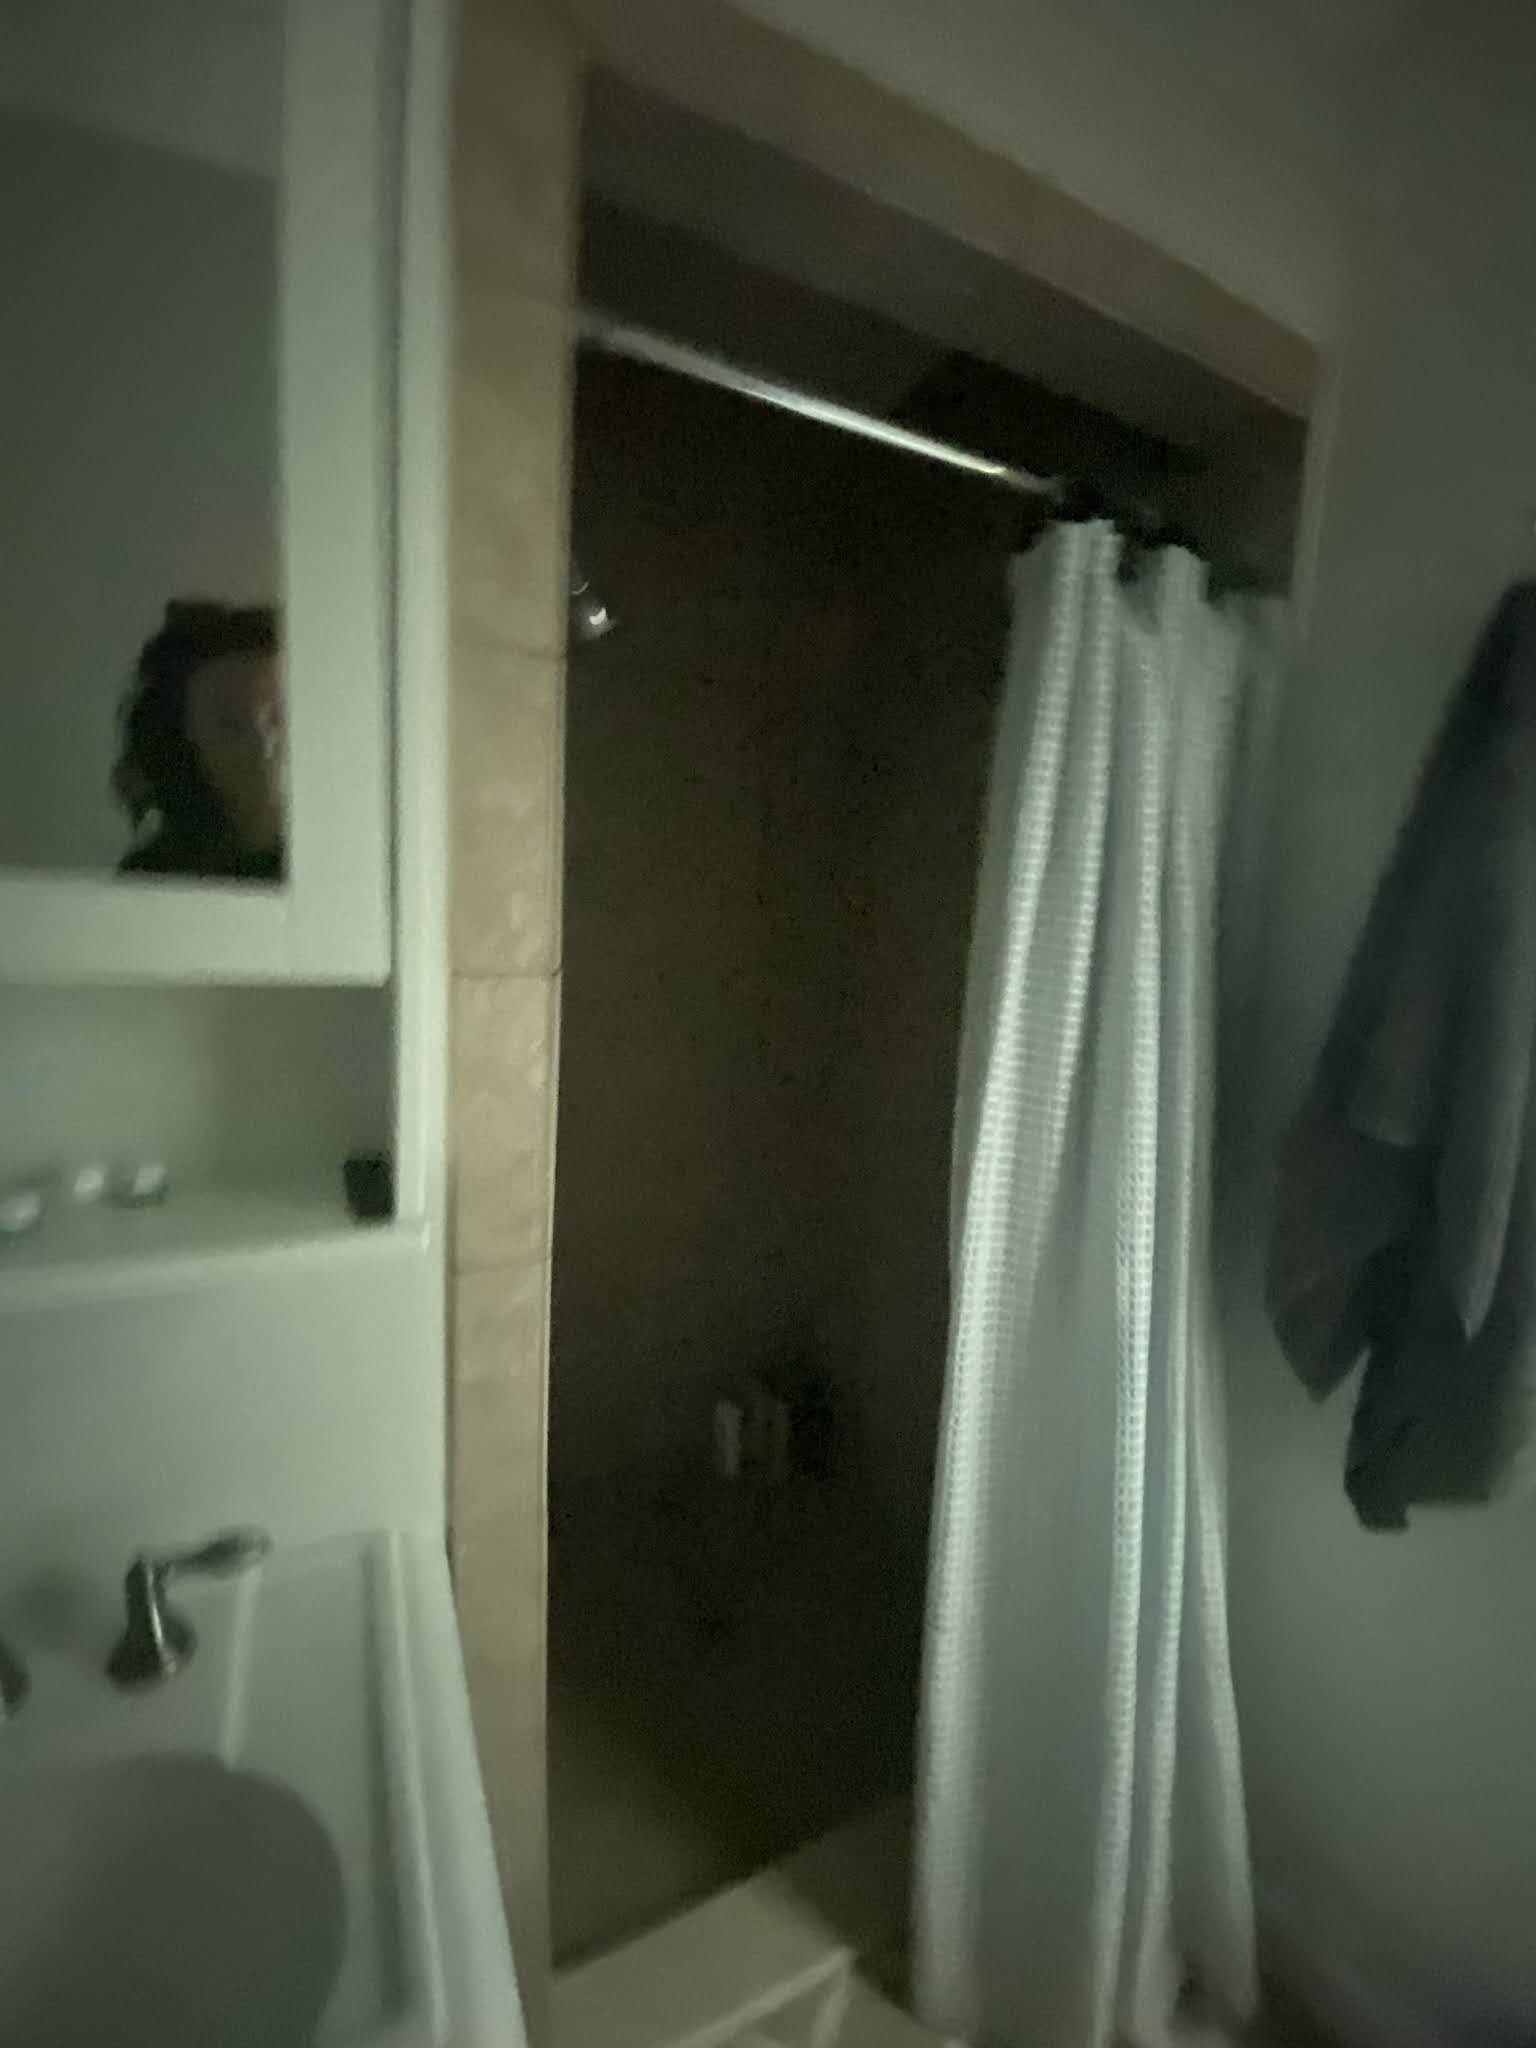
You could sit on the toilet and touch the pedestal sink and learn forward to touch the edge of the shower.
We needed to tackle storage and functionality. The design took a ton of space planning, talking through things with the contractors and sourcing smaller scale items. Even then we were still not even being sure we could pull it off until we opened the walls.
In the pic below you can see the double doors of the closet.
The closet didn't extend beyond the space marked by the doorways, it was petite!
And the After:
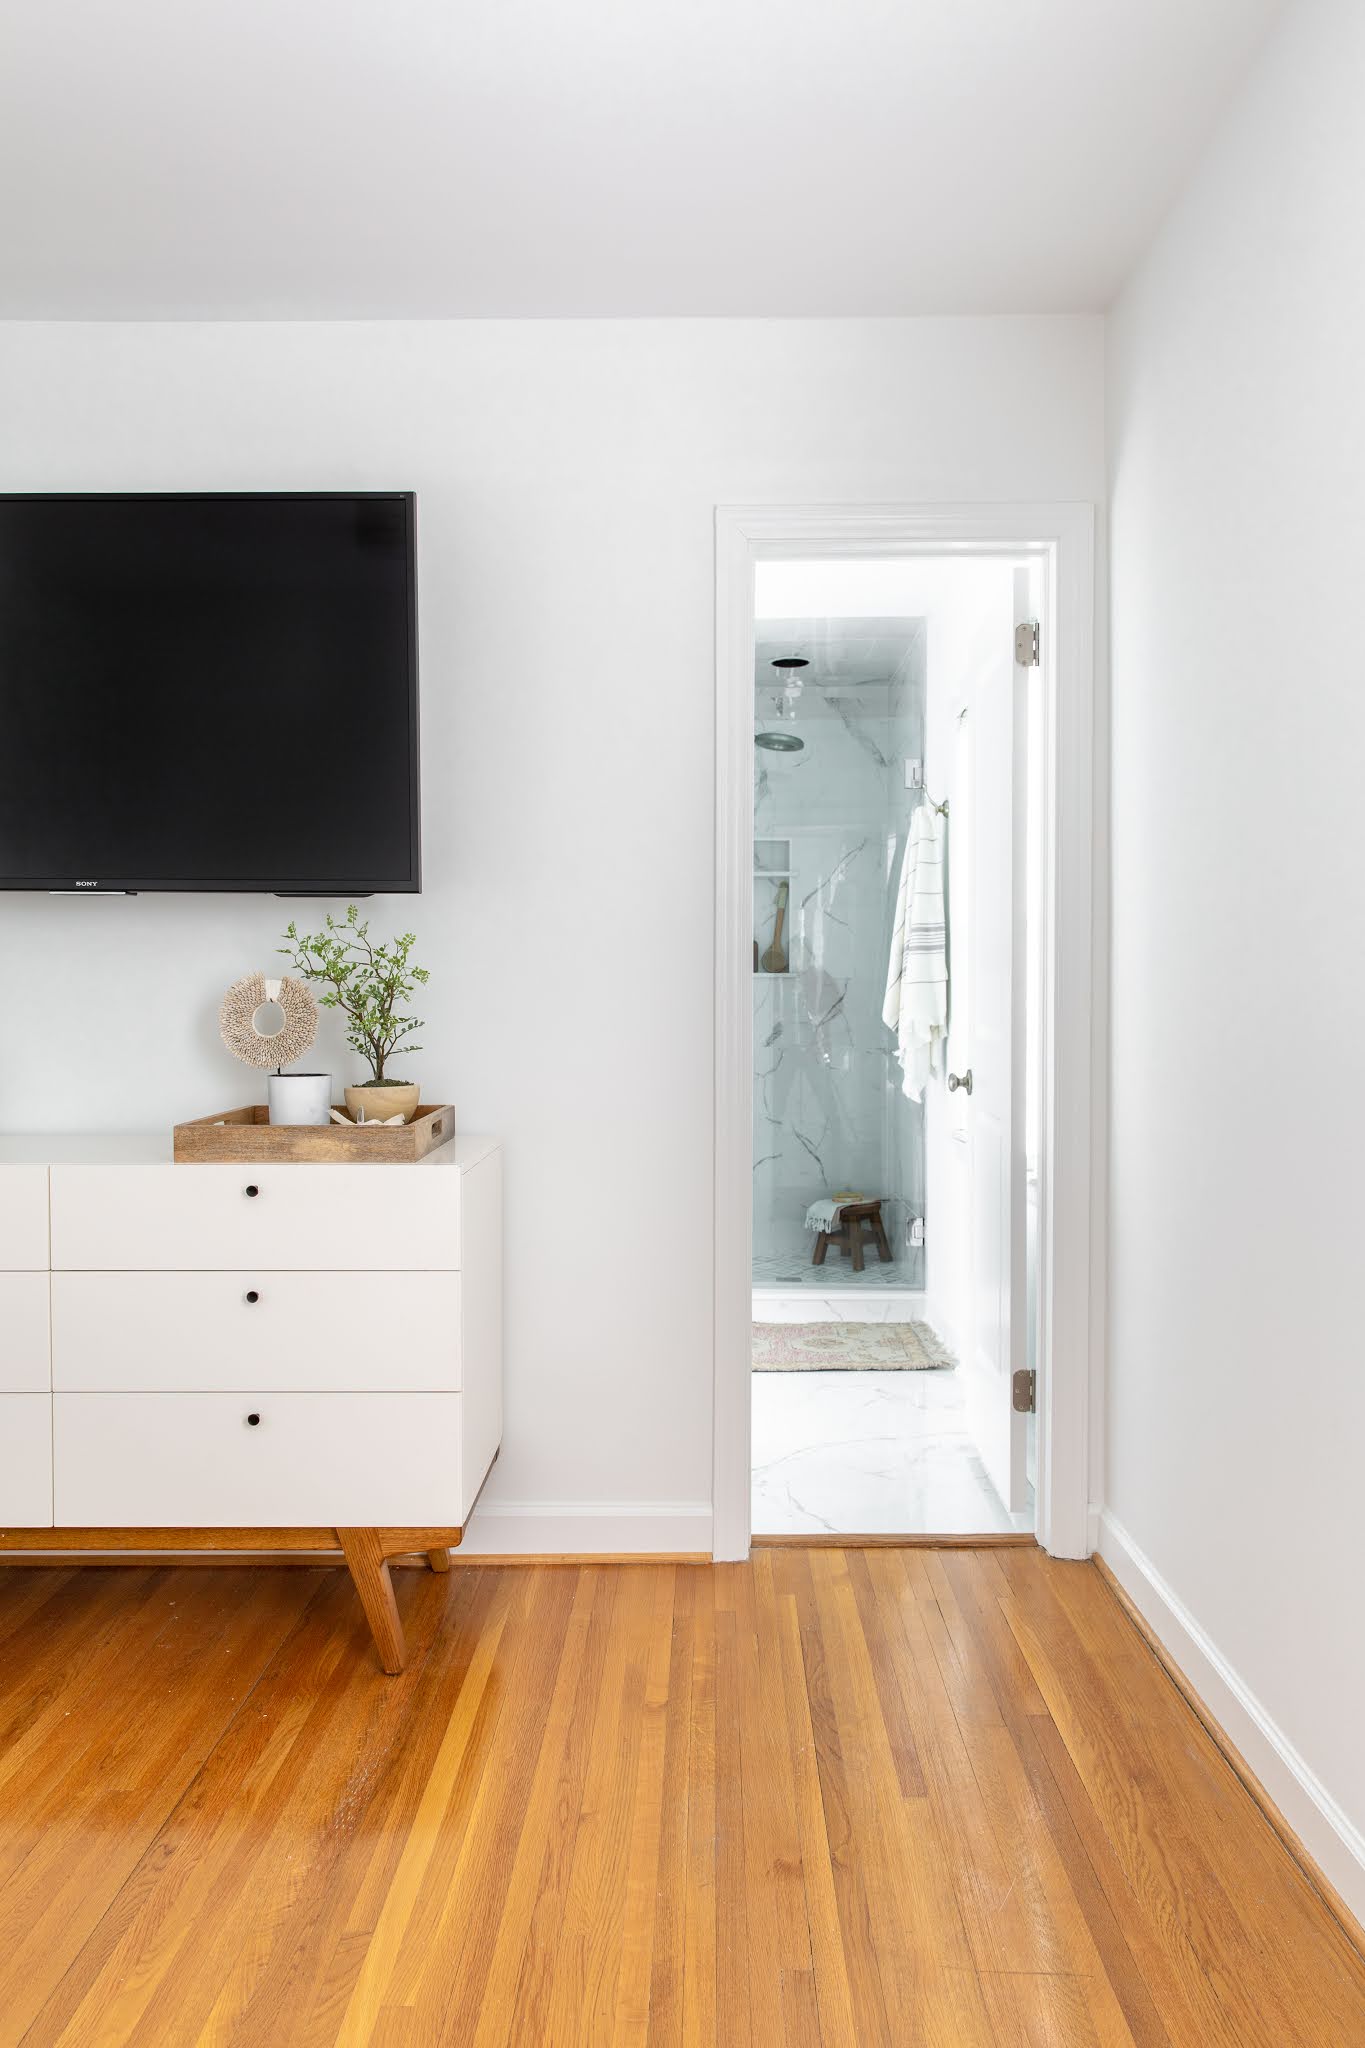
Above is a shot of the wall that used to house the closet.
The bathroom door is in the same spot!
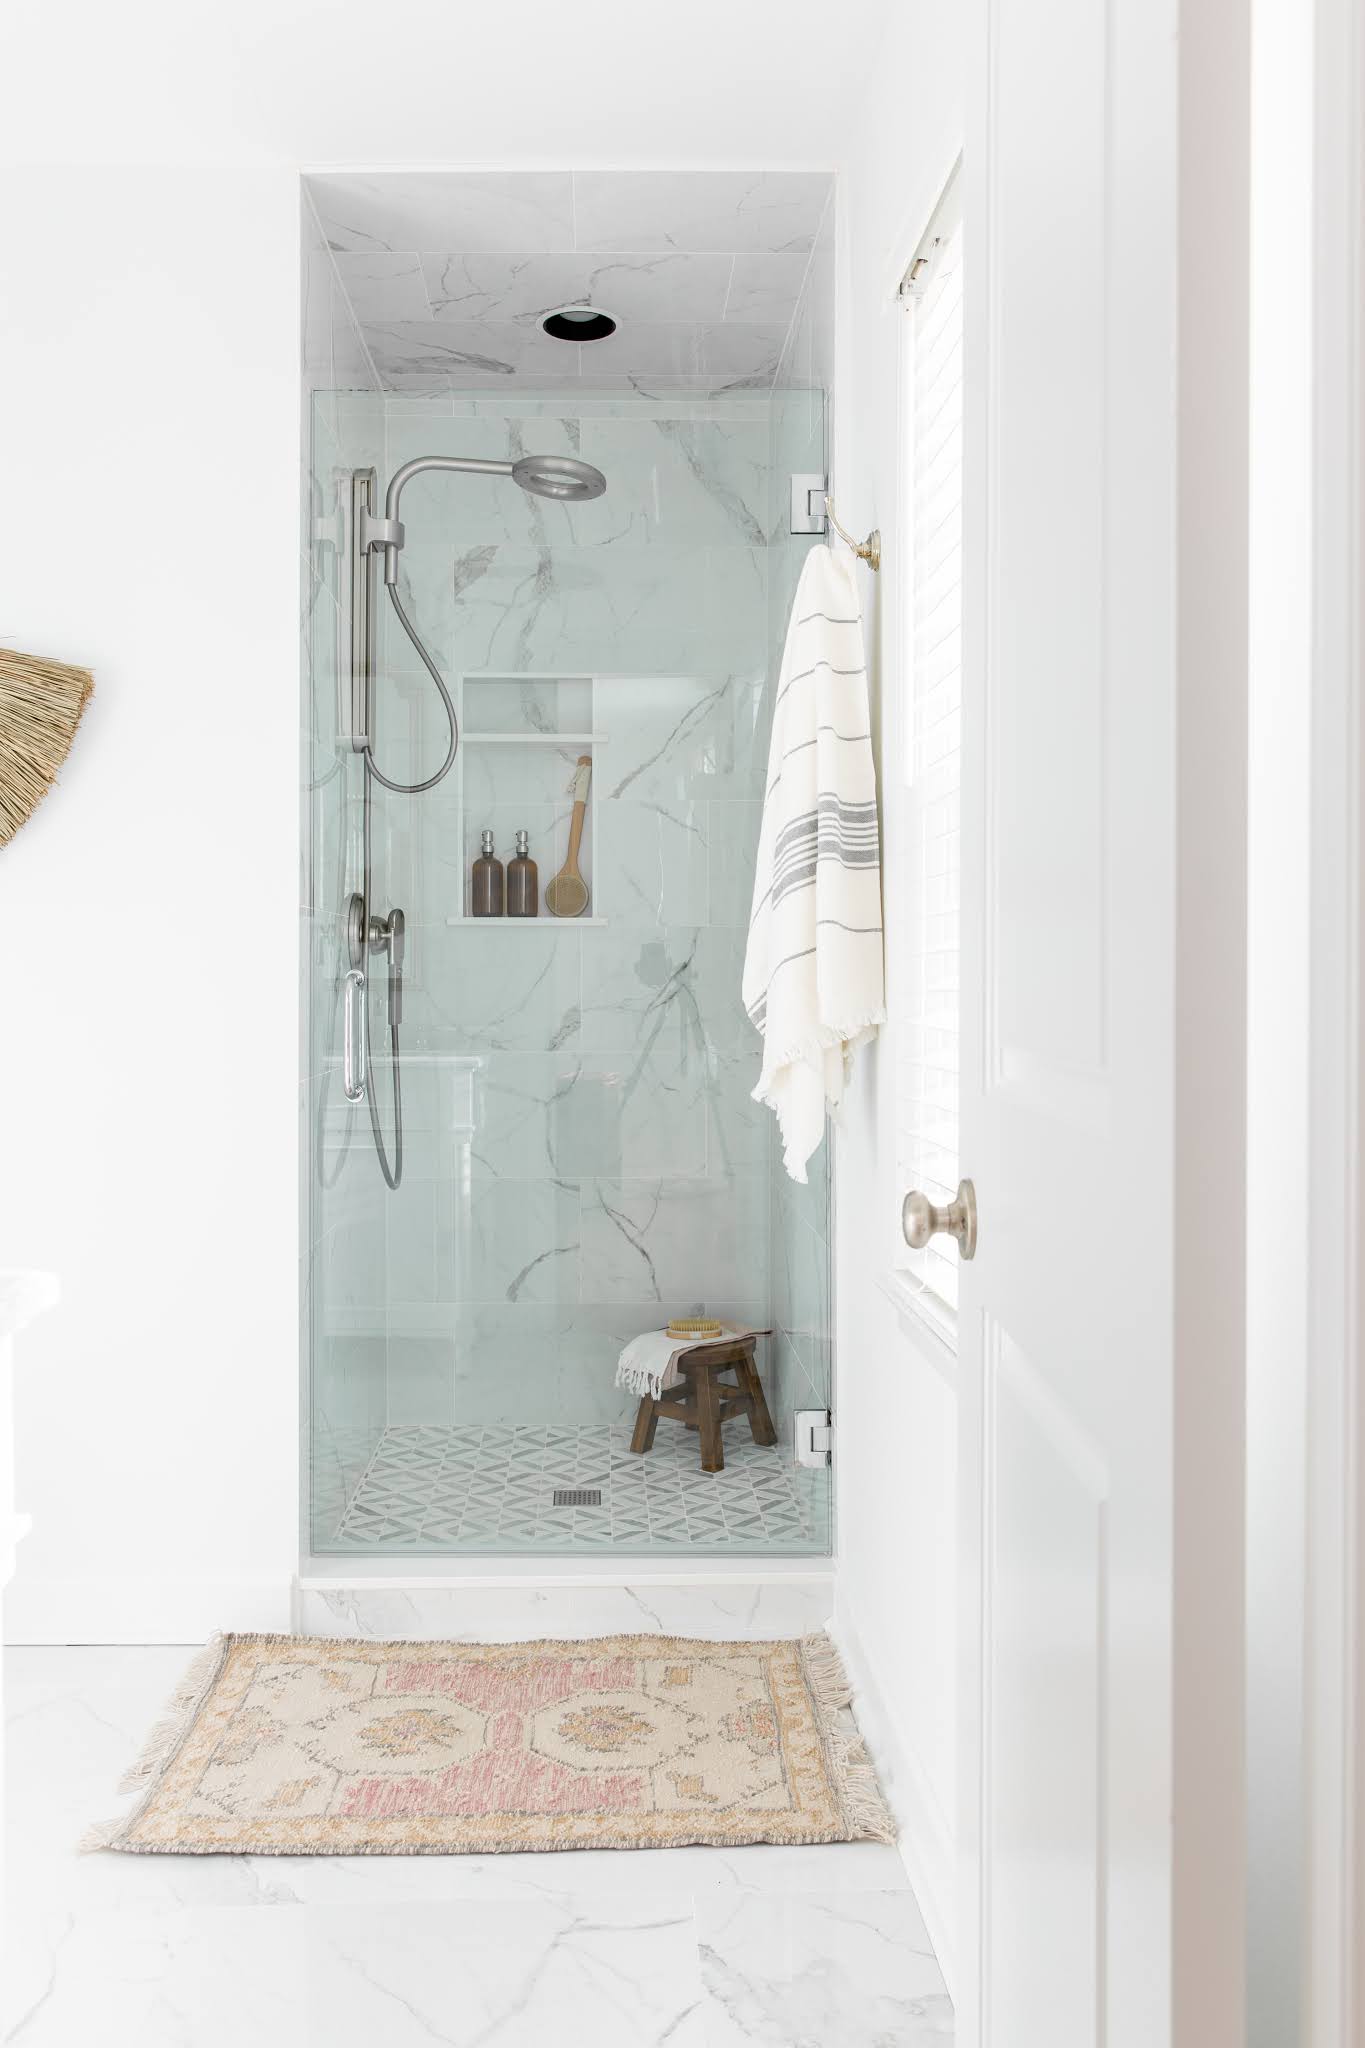
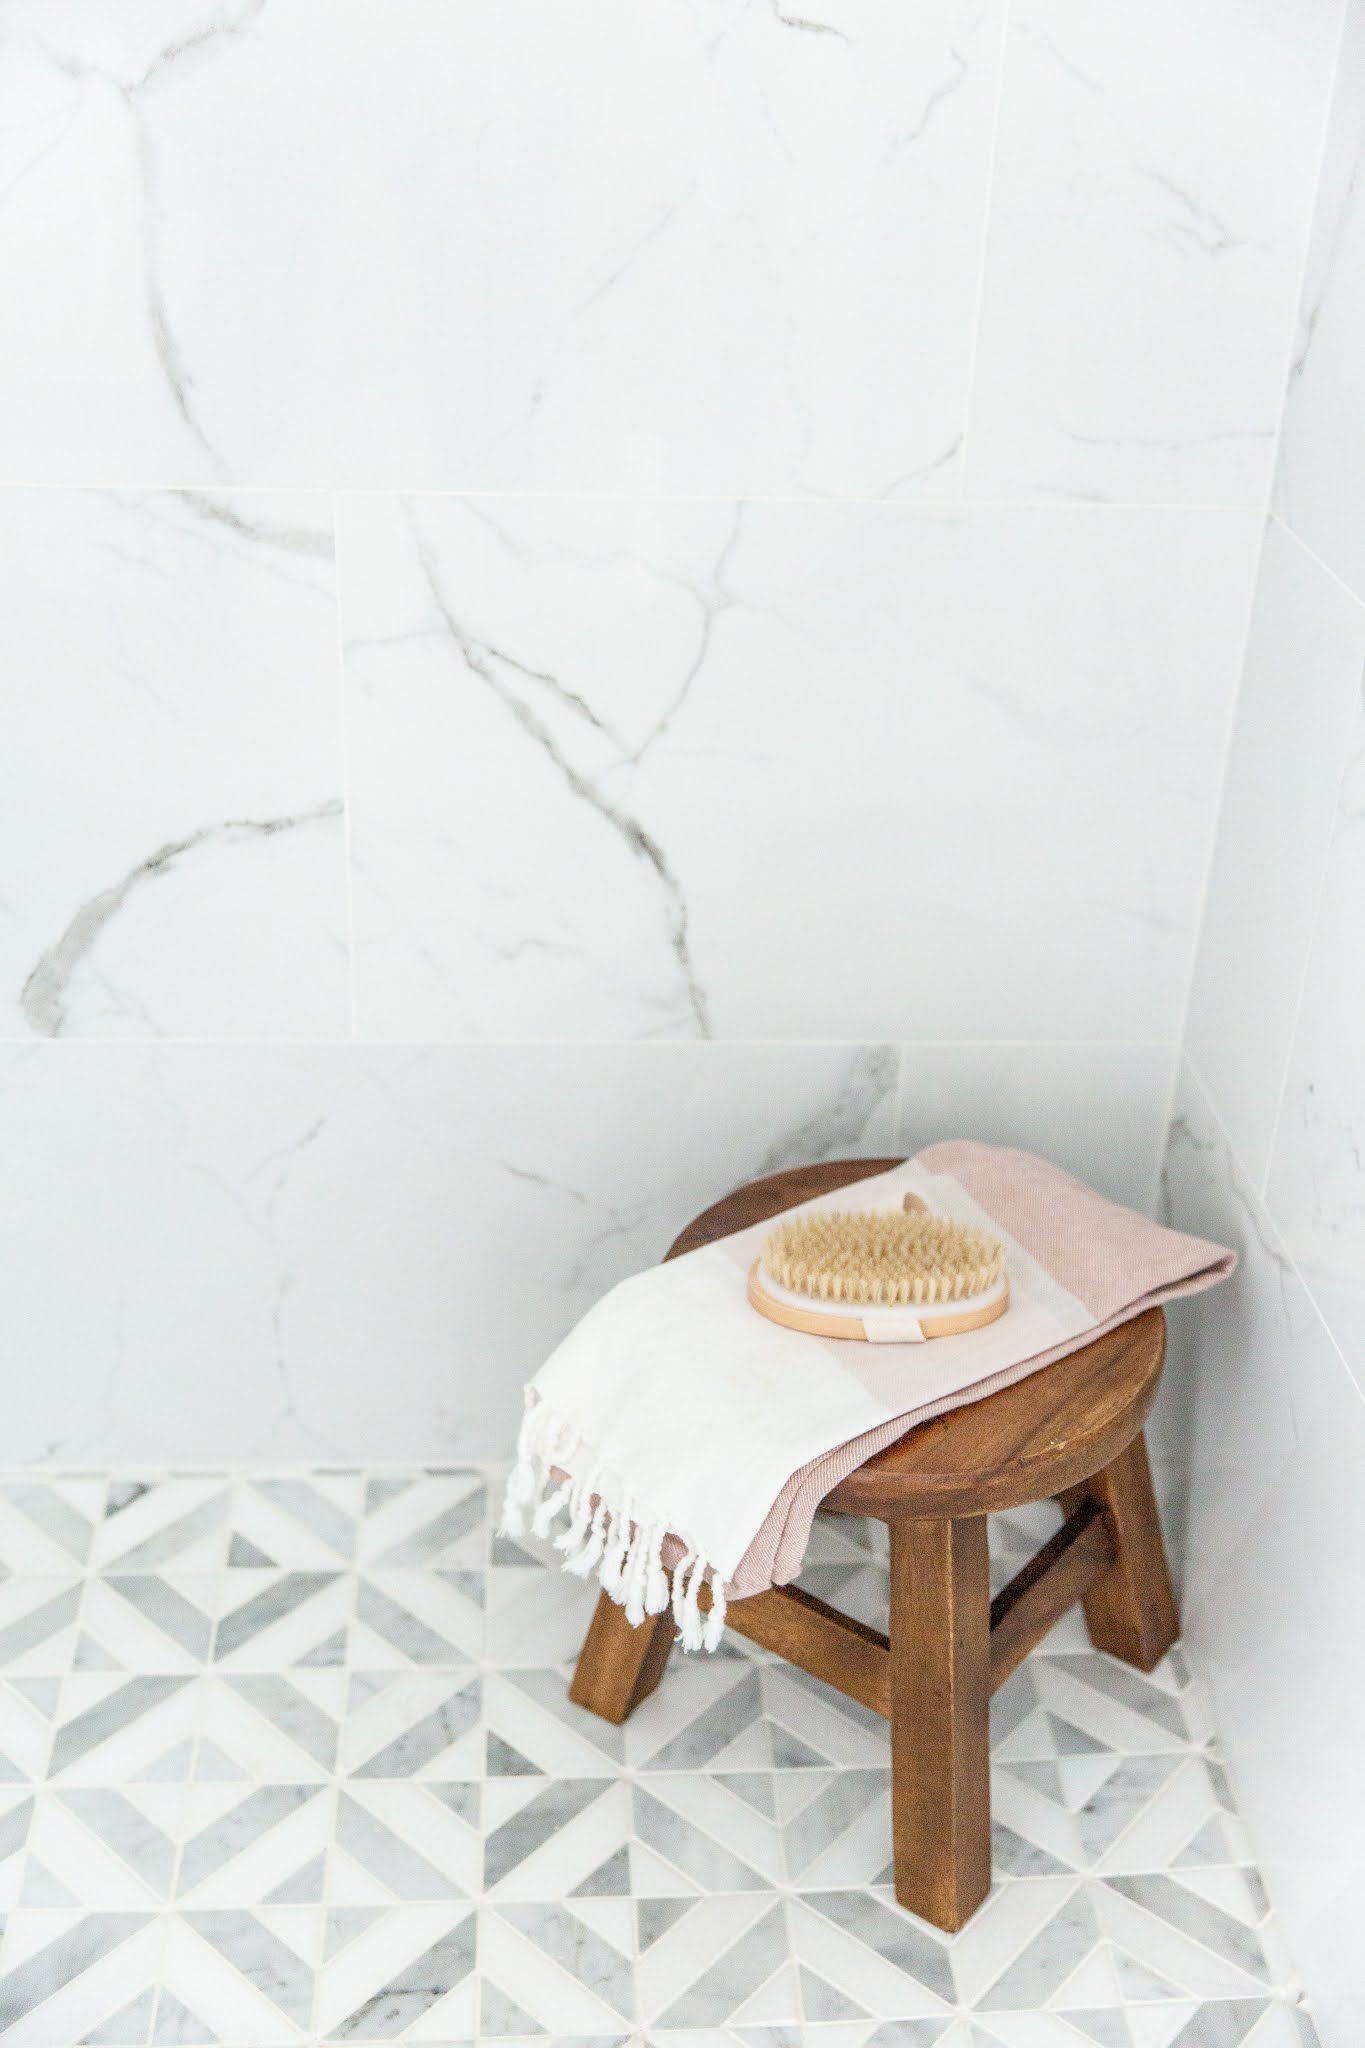
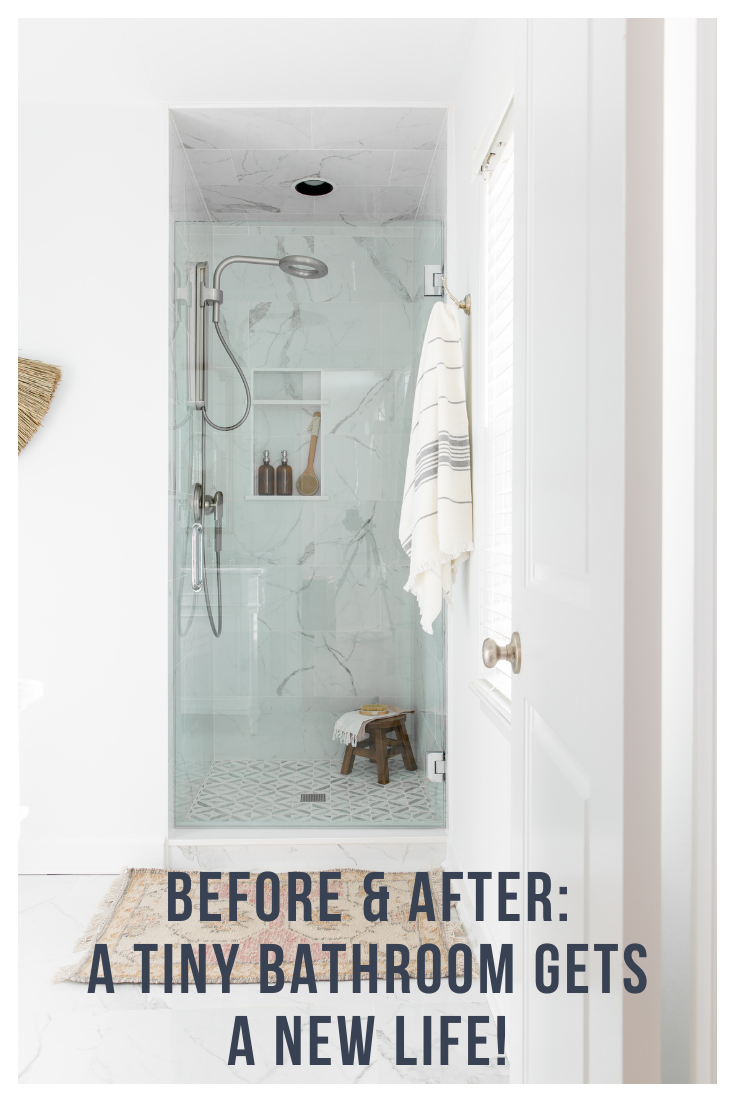
The shower is still the same size! Removing the thick tile that was there previously actually gave us a few inches around. I wanted to take tile the ceiling to give it a spa look but also to draw the eye up.
The single pane door was tricky but we managed to make it work! We have three hinges instead of the traditional two, but I was sure we needed a single pane without side panels to keep the space as open visually as possible.
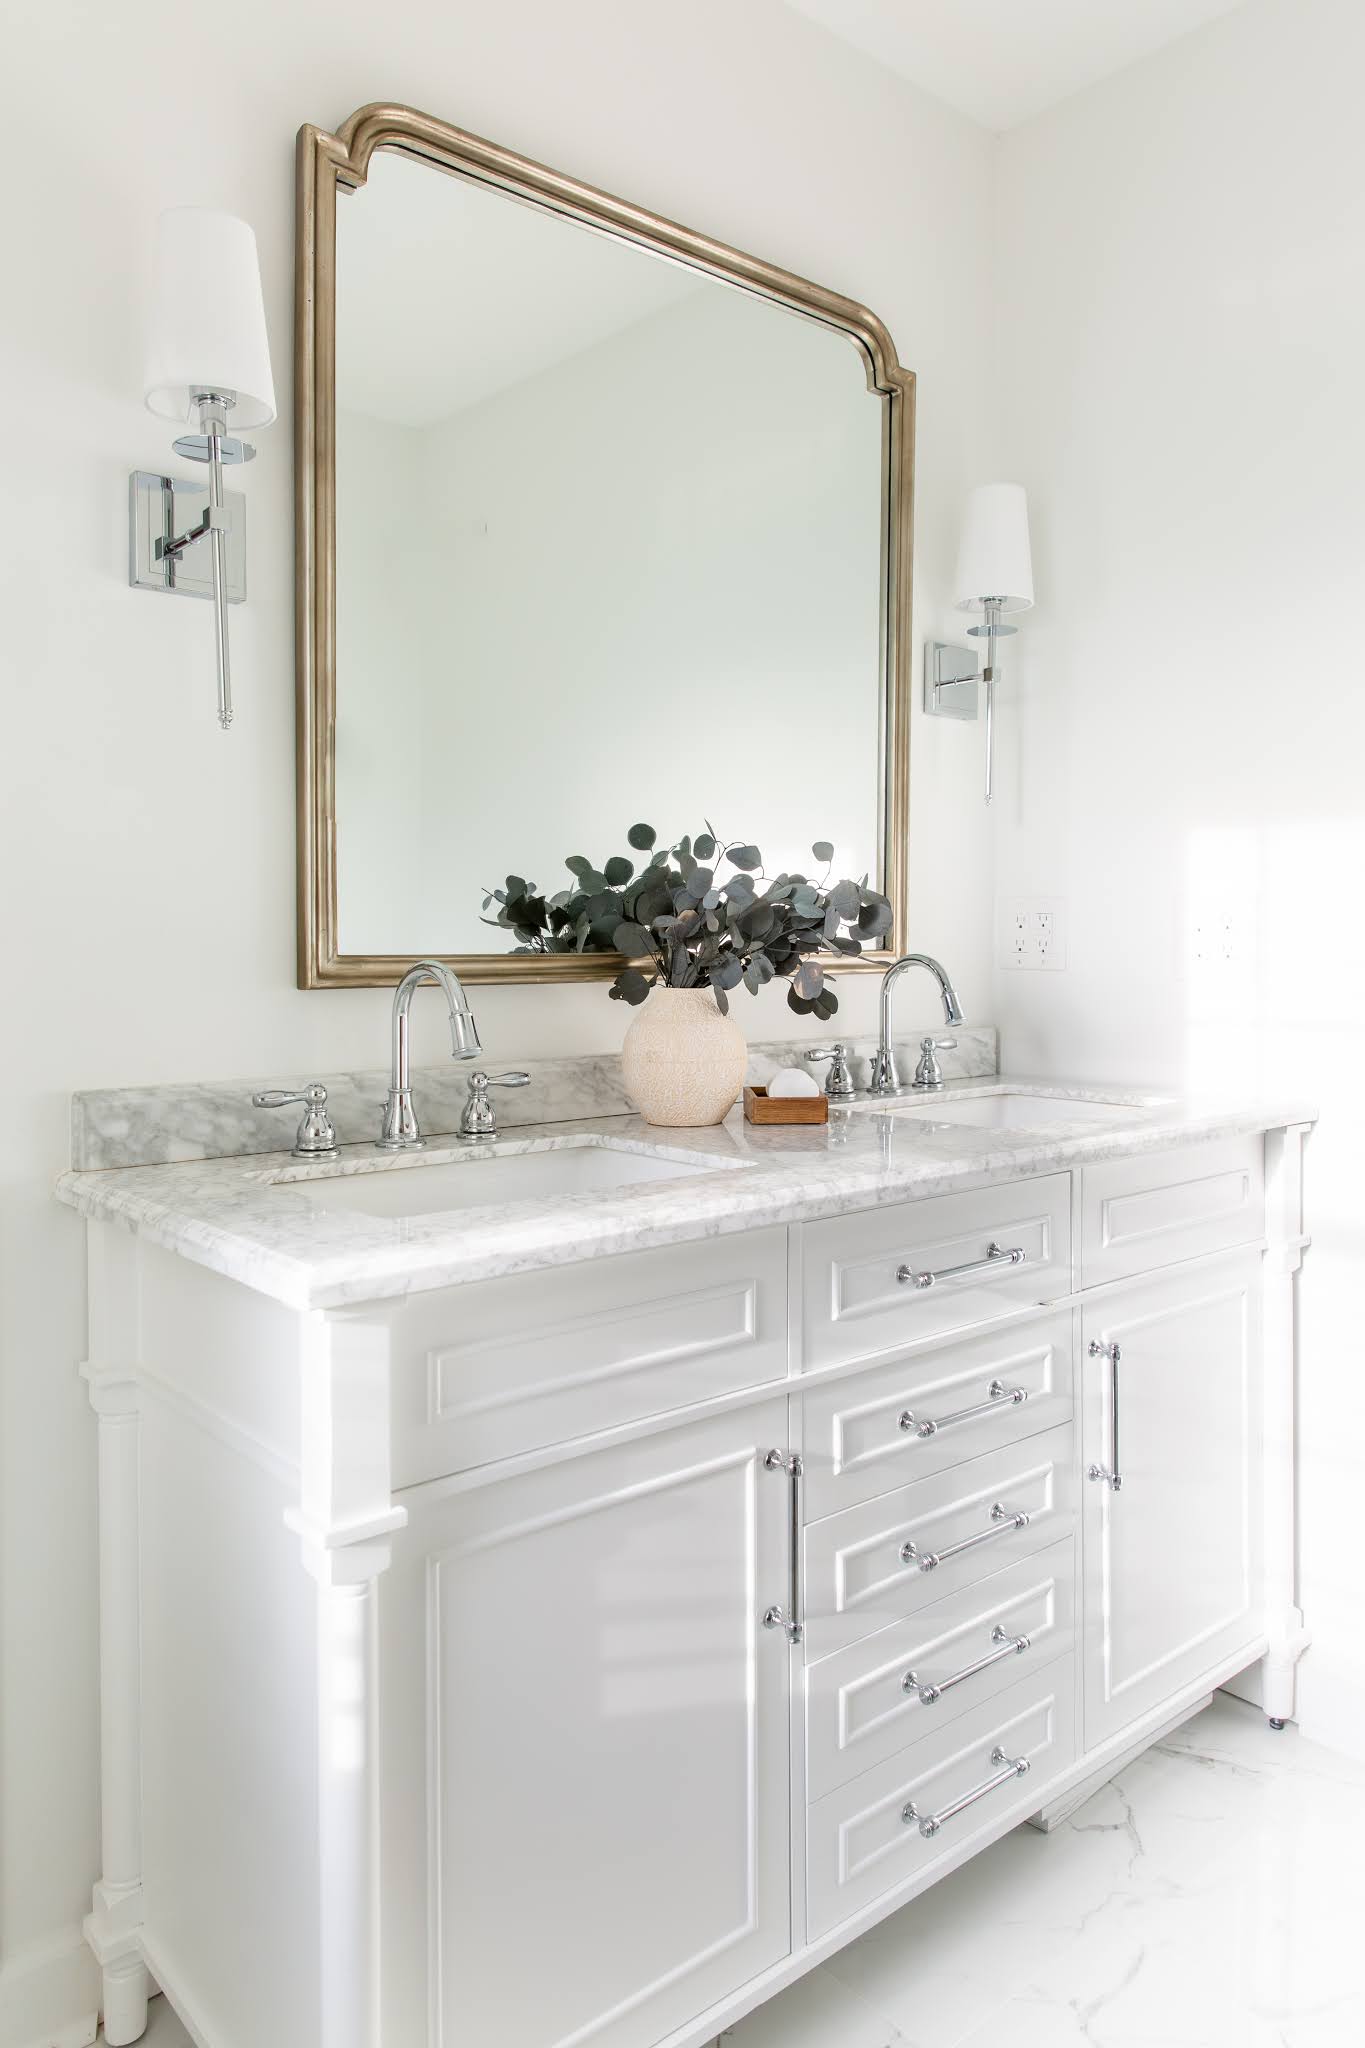
Recognize that vanity?
We used it in our last renovation - the mirror and sconces, too!
Why the repeat?
Both spaces required a 60" sized double vanity, which is typically the smallest size you can source via major retailers like Lowe's. I learned last time that double mirrors were tough to source on that short of vanity wall, so I went right back to what I knew worked and worked well!
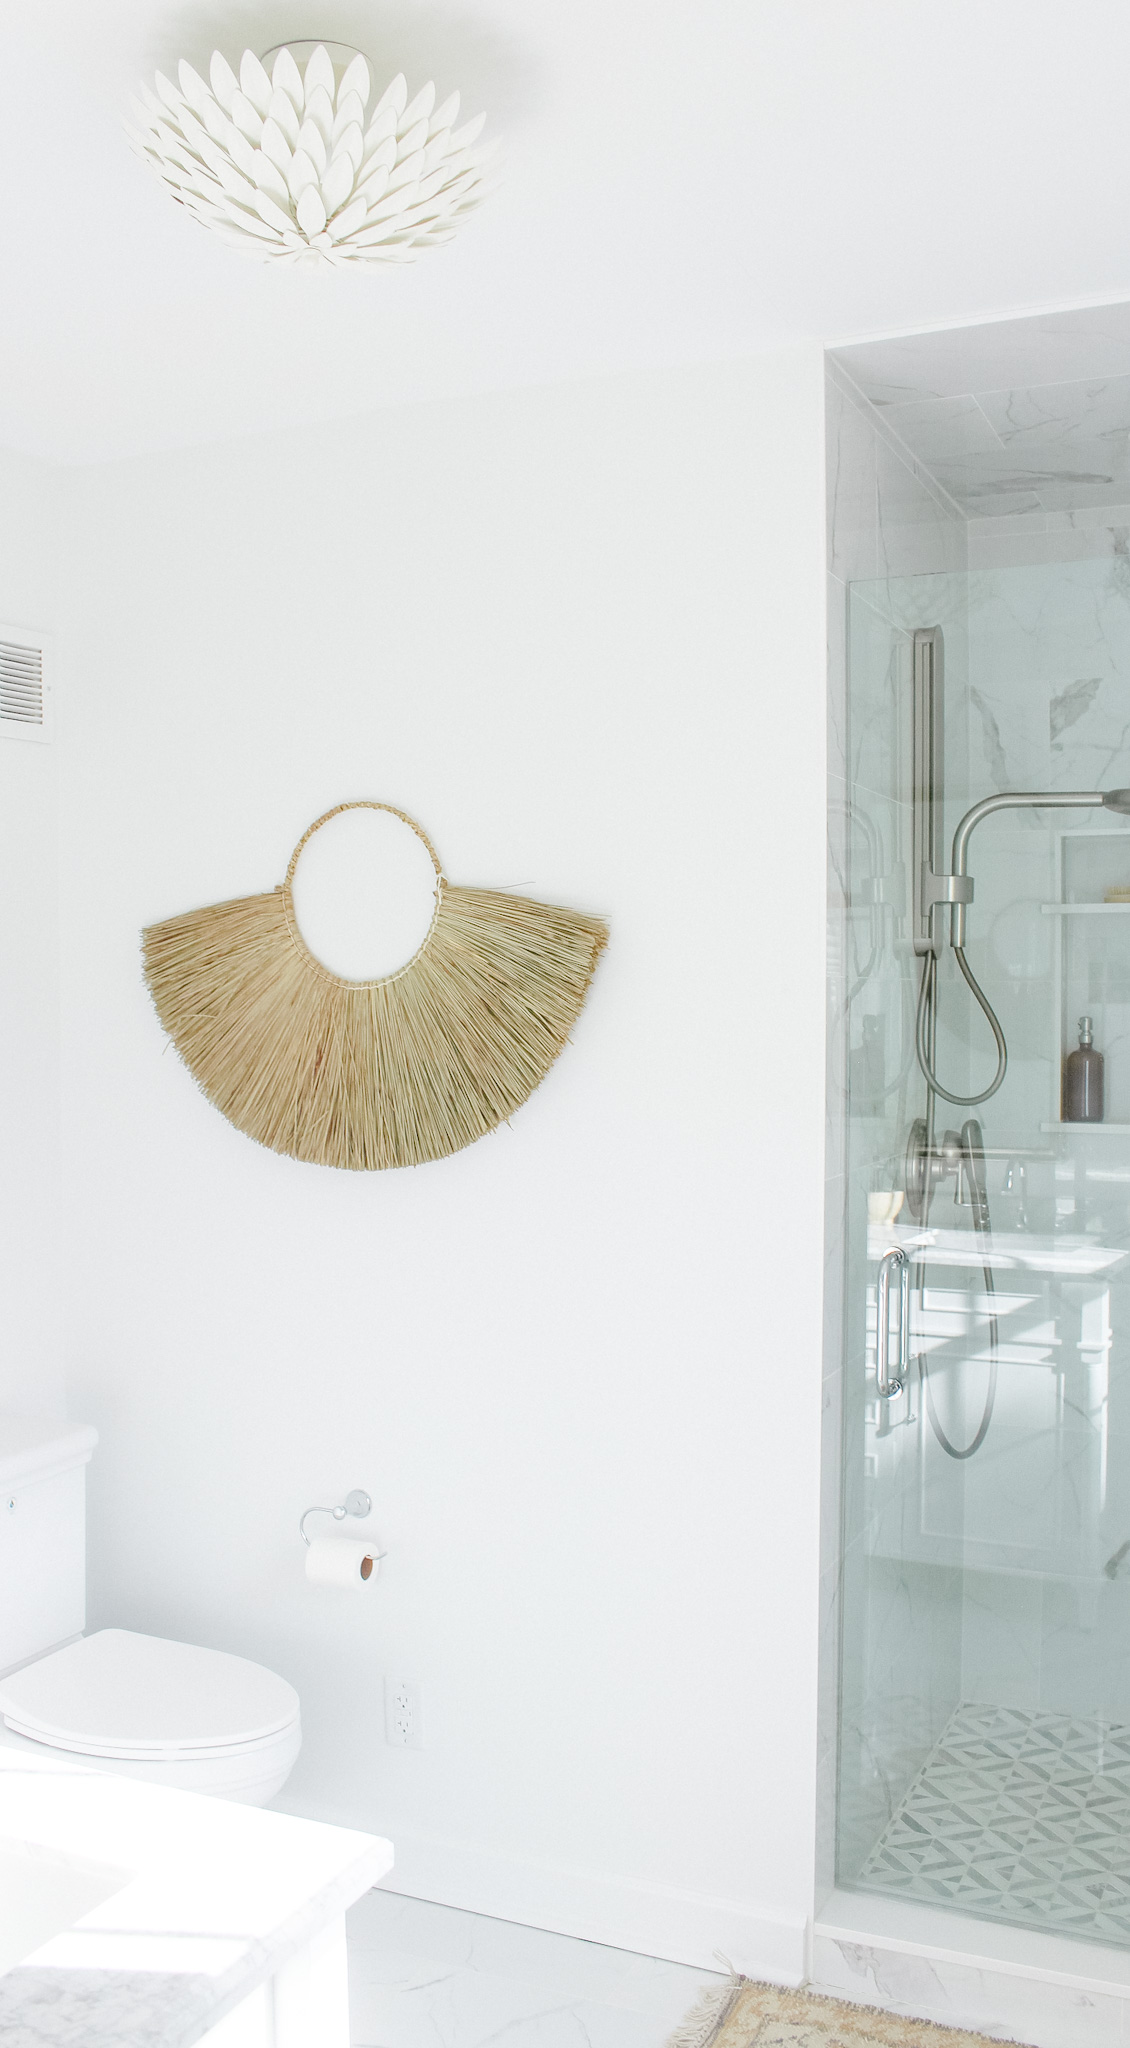
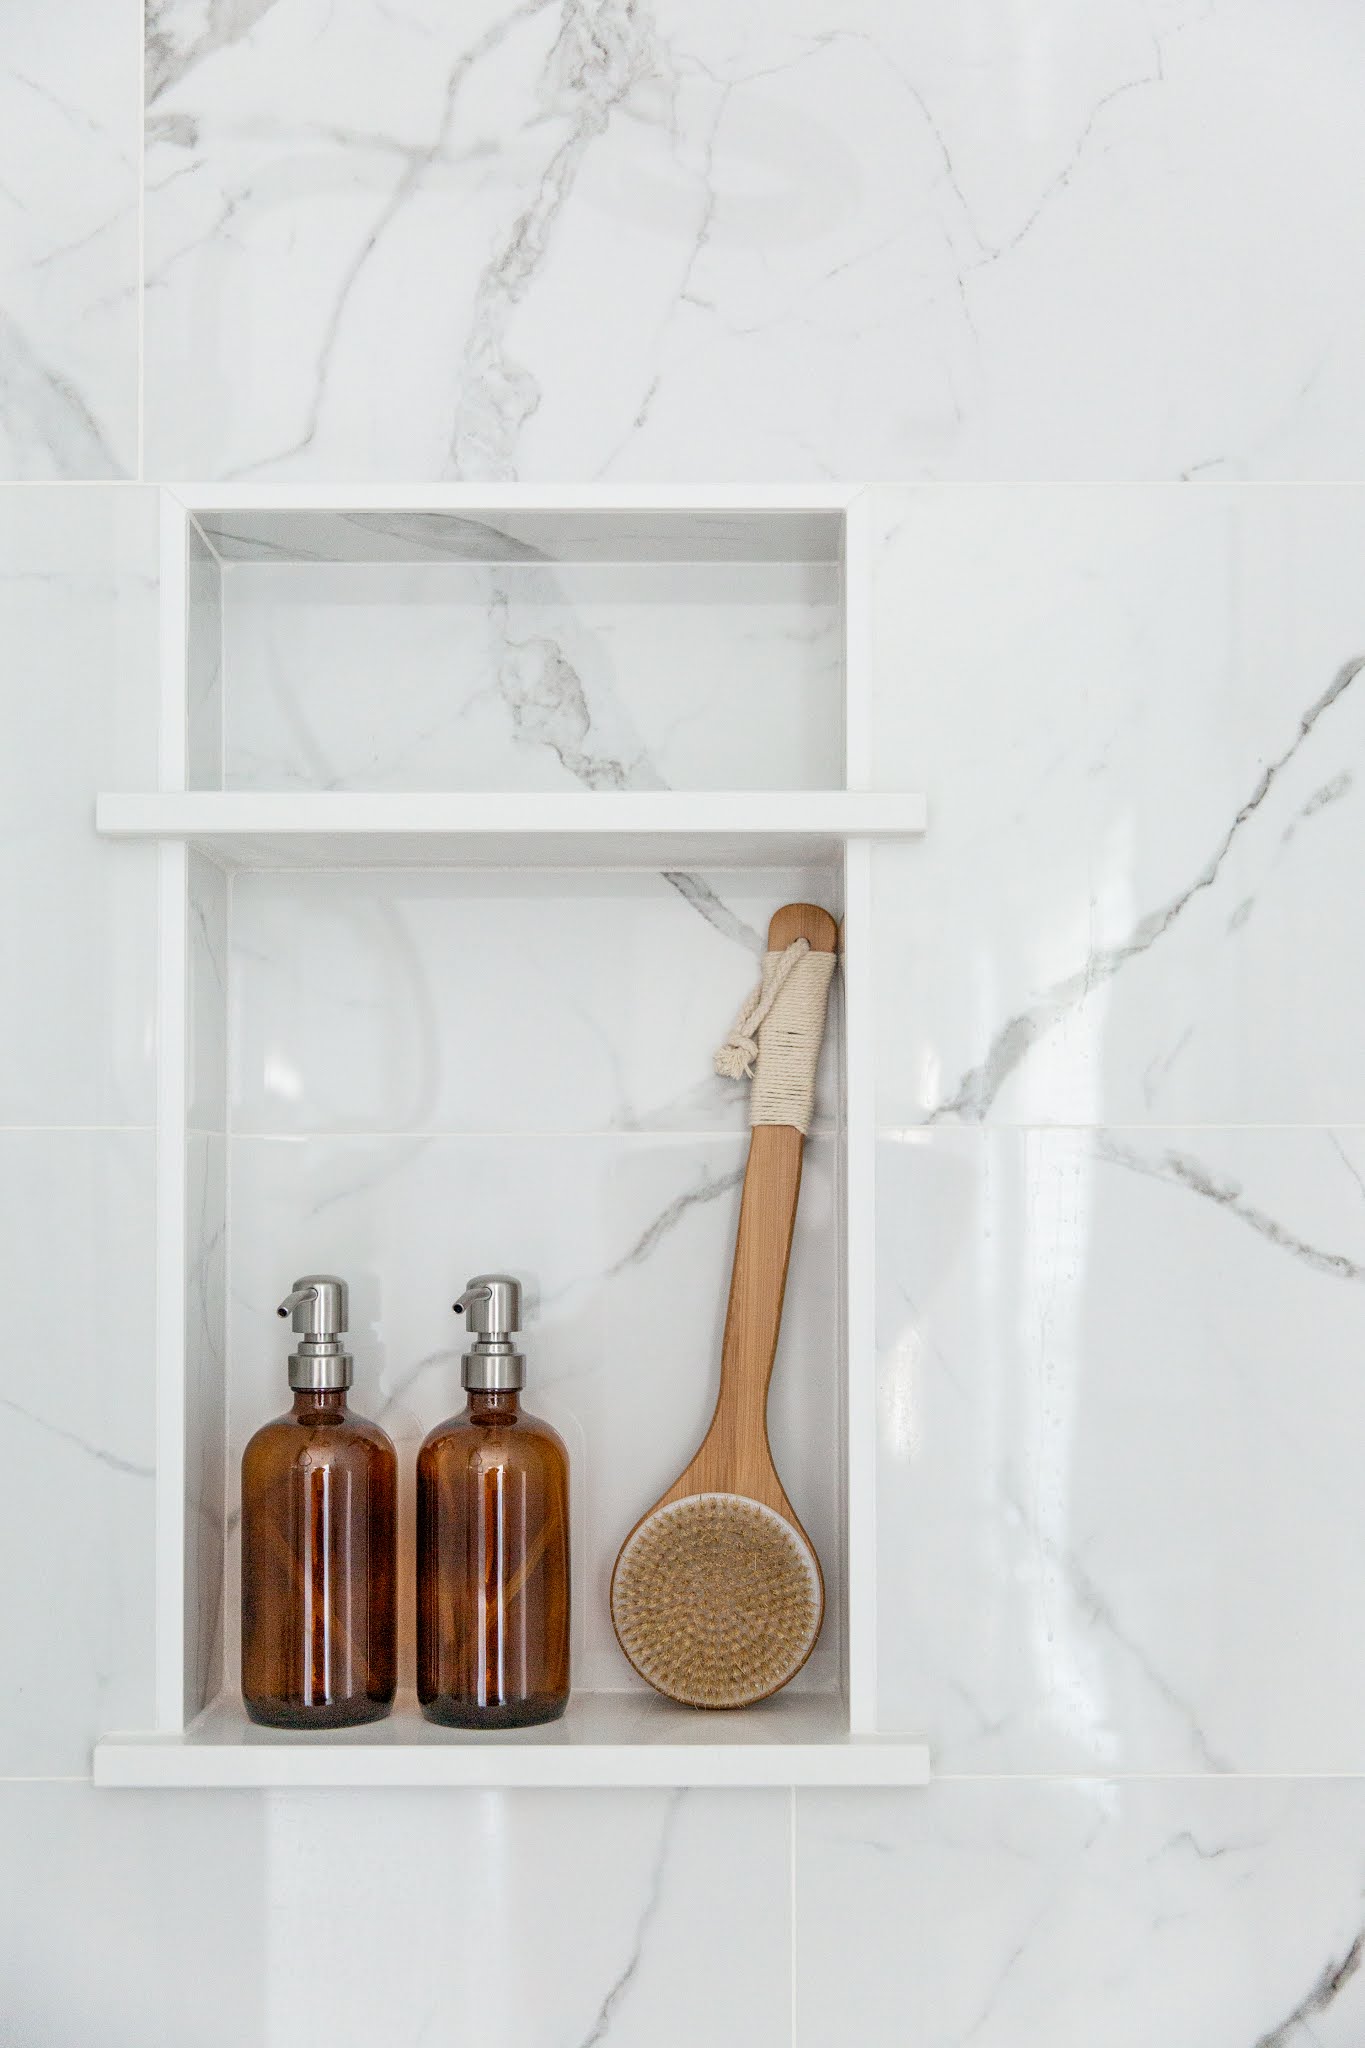
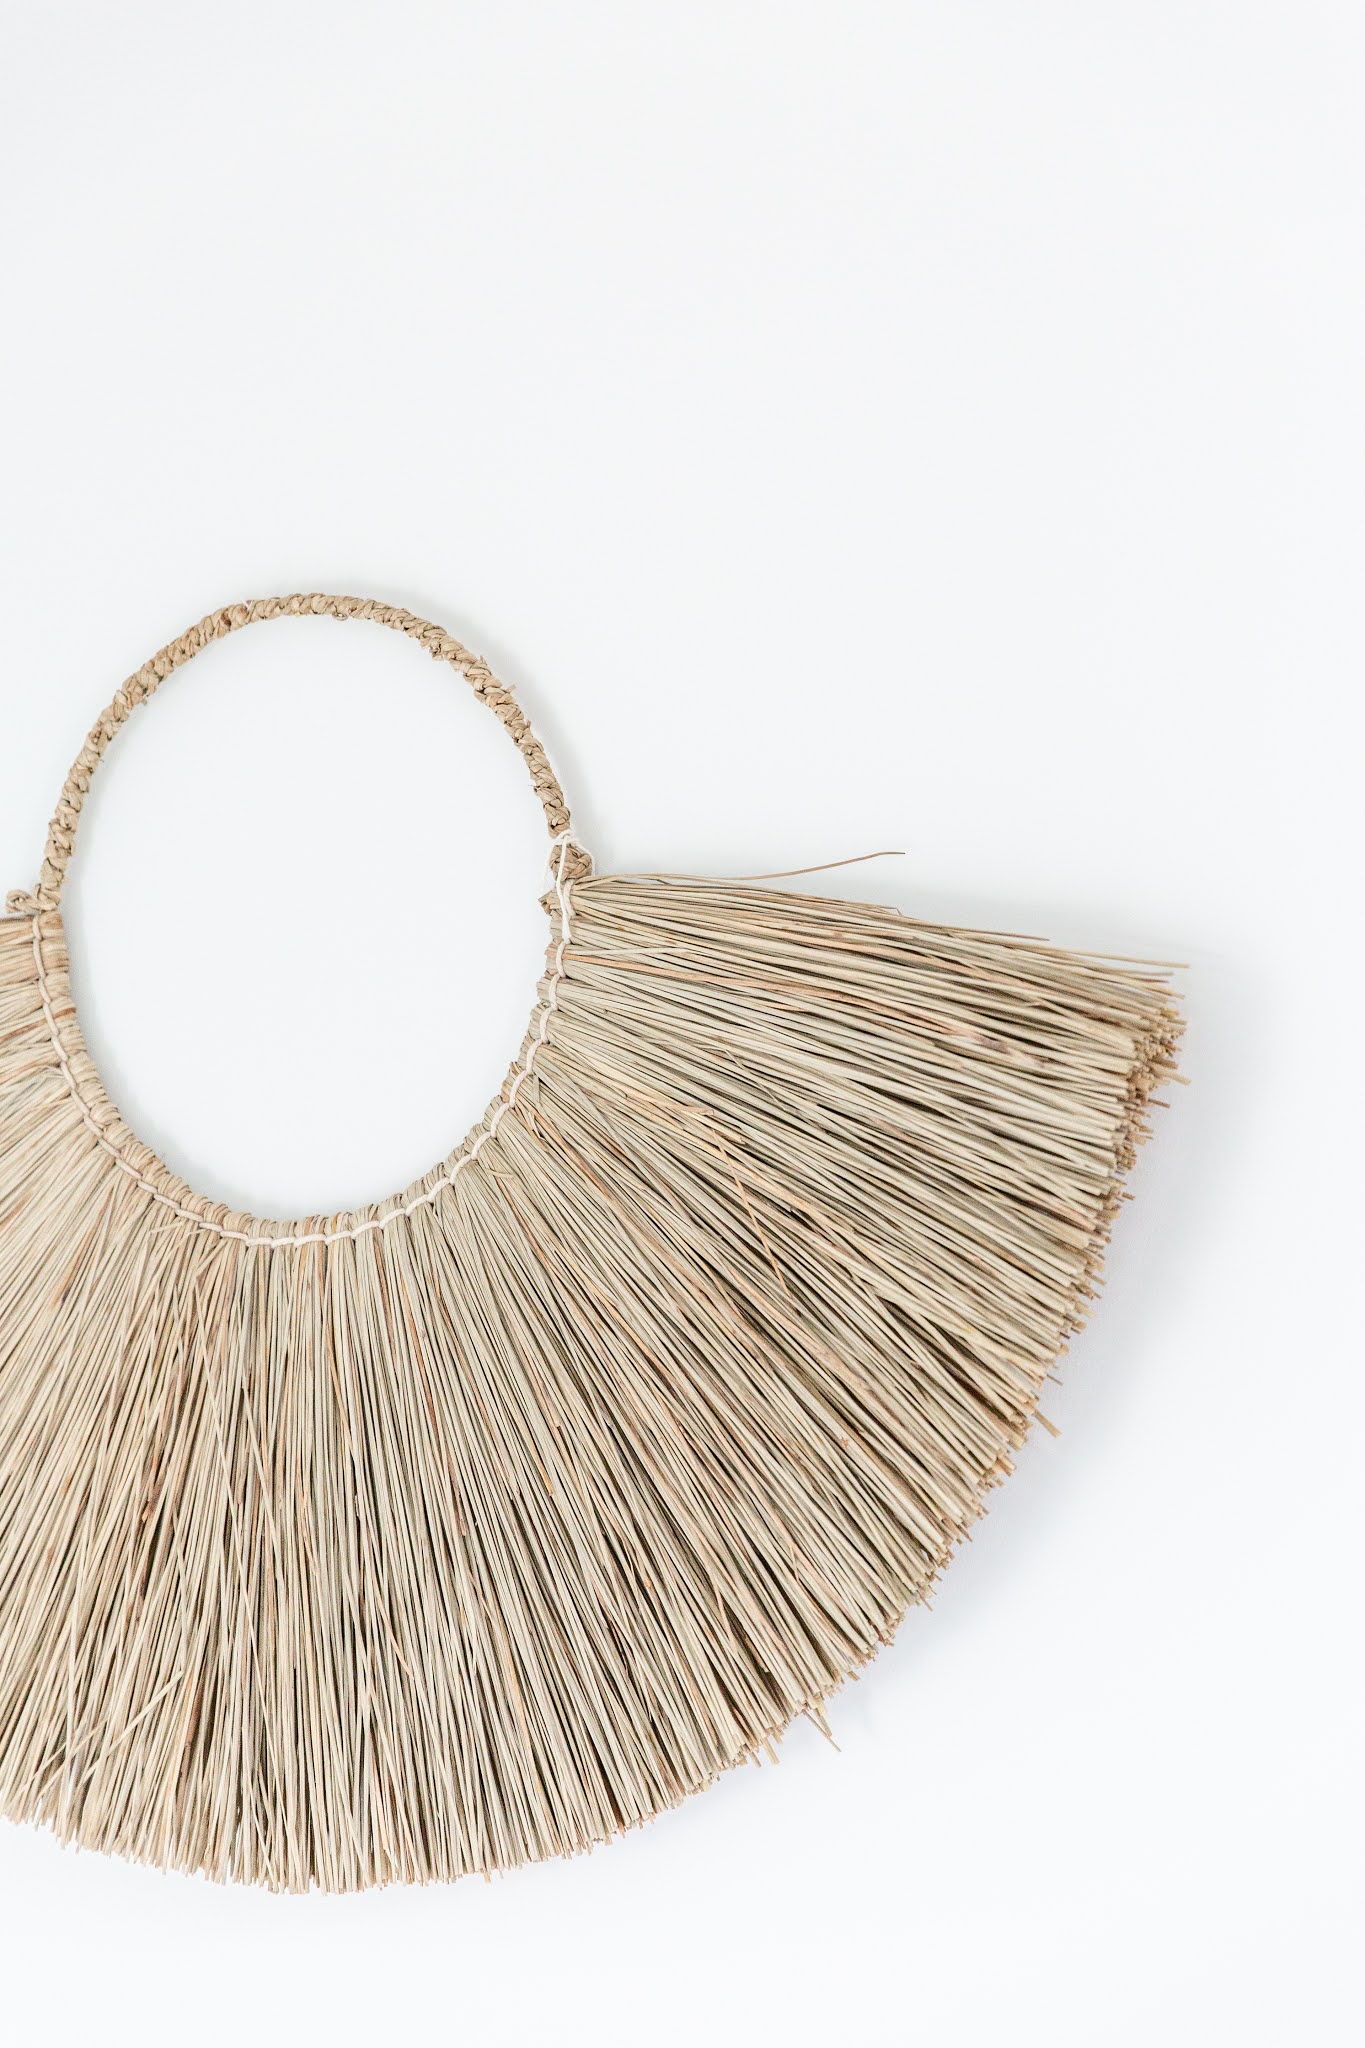
I wanted to break up all of the tile and marble vibes with natural elements, so I added in wood tones, woven raffia and amber brown shampoo bottles.
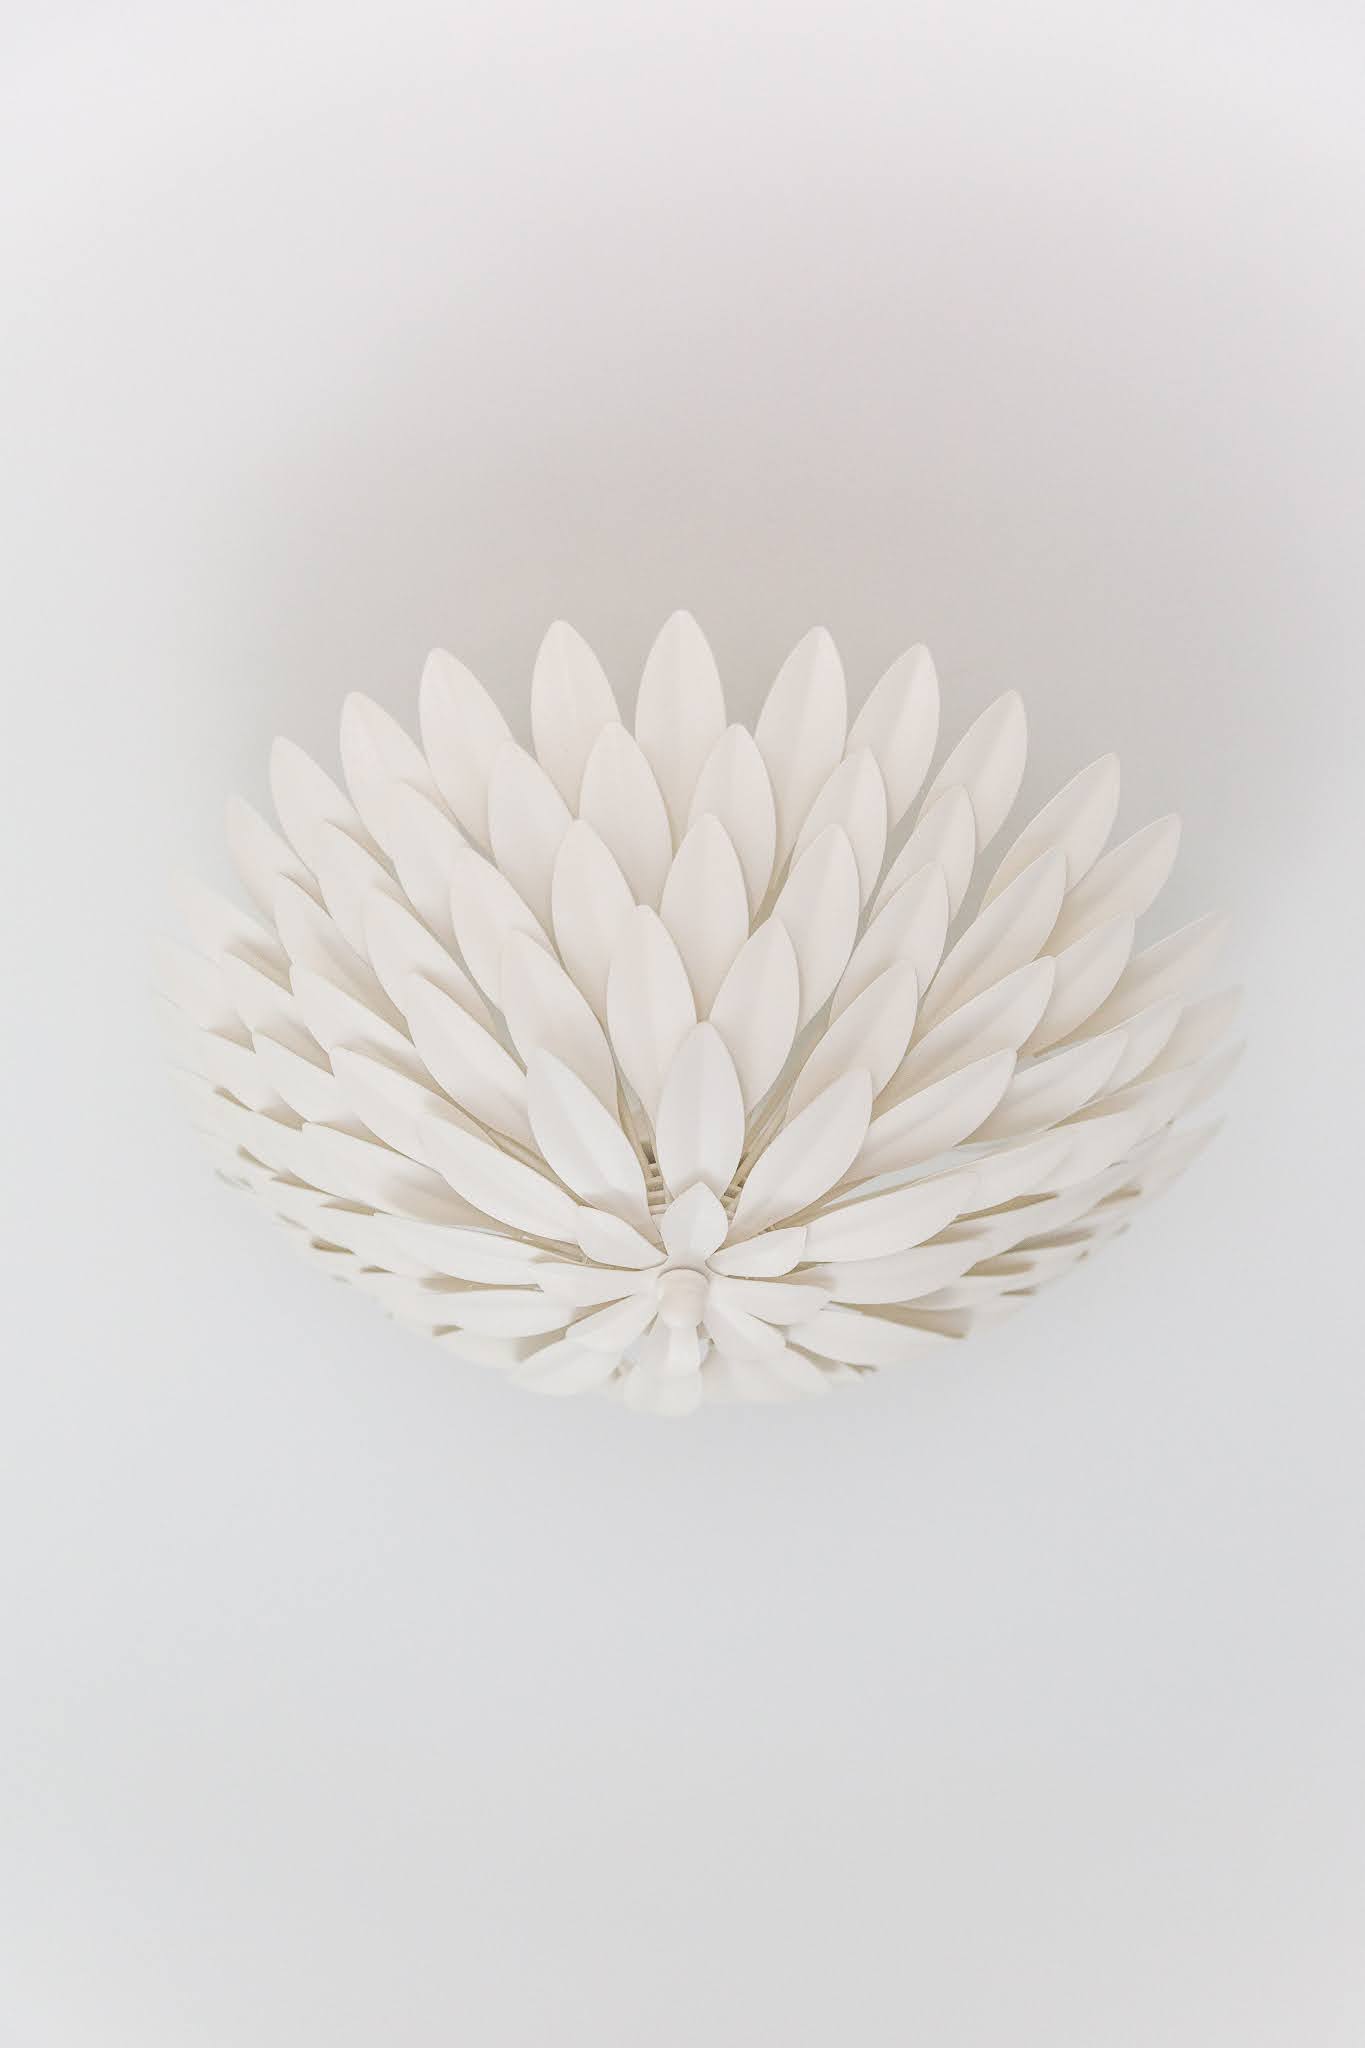
The light fixture is one of my faves to date.
It raises the eye up without distracting from the soothing vibe that we're rocking.
We are honestly thrilled with the change.
It's amazing to me that the space only "grew" a few feet but feels so much larger than it originally did.
Source List:
Paint Color: Benjamin Moore Wedding Veil
Faucets (yes, they light up!)
Shower Glass Door + Handle: Karsey Glass
Shower Head and Fixture (similar)
Contractor: Skysail Construction
Photography by Demi Mabry Photography
If you liked this post don't miss
and
Want to save it for later?
Pin this:


